Planning
When starting out my production piece I first had to type up a narration for the story, so I used ChatGPT to give me a five minute version of the story that I can use as an outline for the scenes. I will then make the scenes in Maya for the environments that I will need to render frames from.
I put the narration I will use in a Google Doc that could also be altered later on in the the project if there were assets I couldn’t get and had to change parts of the story. For example, I wasn’t about to find three regular looking characters for the forest clearing scene so I had to make do with anything I could find which was a Samurai, a knight and guy in a radiation suit.
Creating and Rendering the Scenes
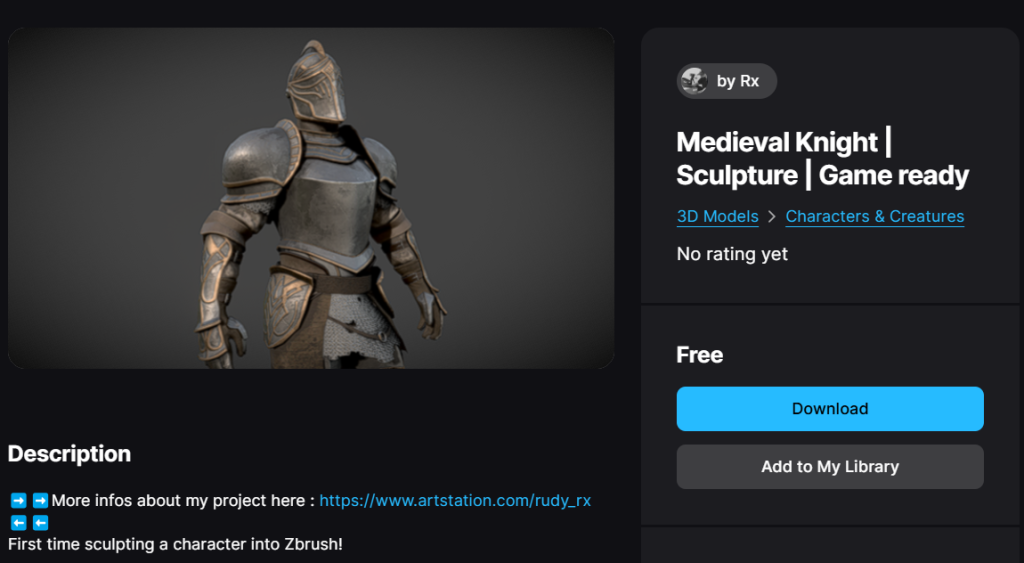
So after the script was done I got to work on making the first scene. This first scene was Rip Van Winkle’s home where I imported furniture assets like chairs, tables and clutter, the house itself and the character of Rip Van Winkle and his wife which I both got from Fab.com.
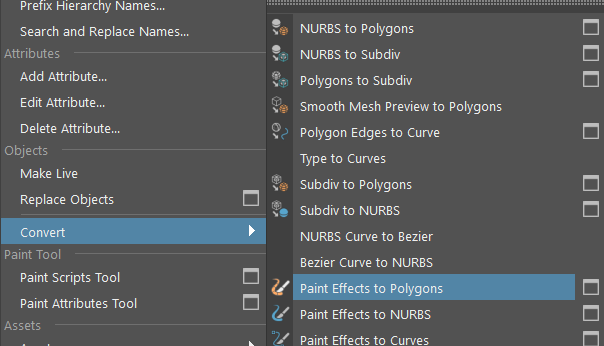
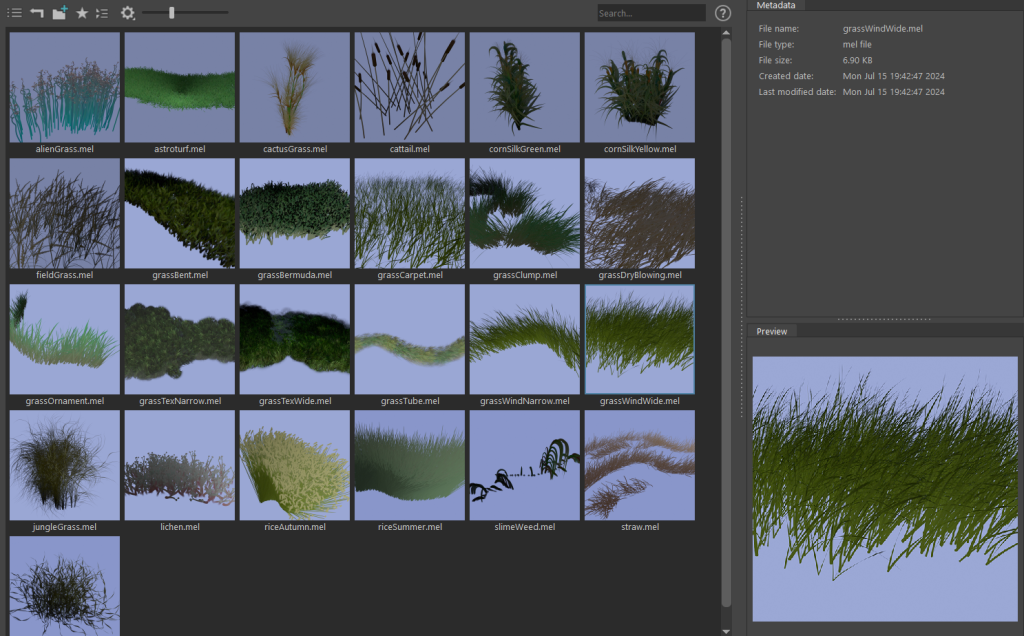
For the grass outside the house I used the generate tab and got a grass brush, I then drew a patch of grass in the scene and converted it from paint effects to polygons from the modify tab, this was so it could be seen in the Arnold renderer and can be used in MASH.
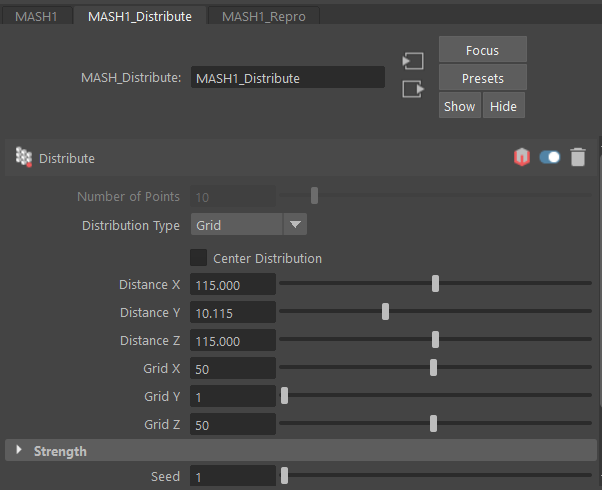
As said, I used mash on the grass patch and used the distribute node to duplicate the patch in a grid area, however there were some issues I found with this. The first was that it was quite intensive on my computer causing crashes and the slowing down of the software. The second issue which came up later was when using a mesh for the distribution type, it wasn’t perfect since some of the grass blade would be floating in the air, however I still used it for the cabin scene and would later change it in future scene environments.
When it came time to start rendering the frames for the first scene, I di find out that there was an issue of Maya crashing midway through. In trying to find out to stop this, I realized I could use the render action from Arnold Render instead of using the Render option from the Render tab which would produce a frame as an image file unlike the previously stated render. I only assume that this helped the software “warm up” the textures that were used and have them more easily rendered when I needed to render the current frame into my file explorer folder.
The render setting I used as follows:

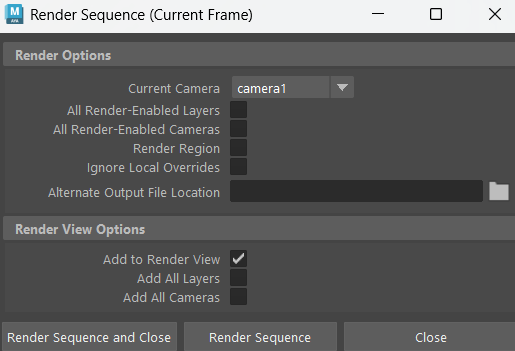

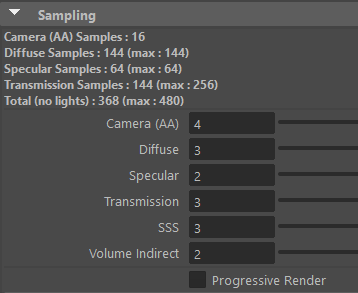
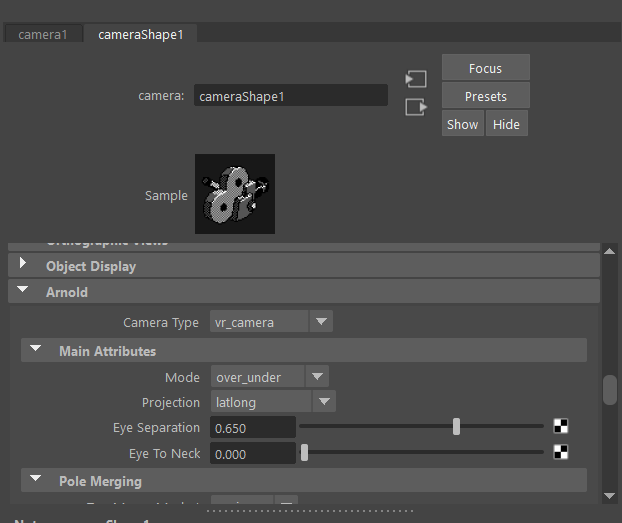
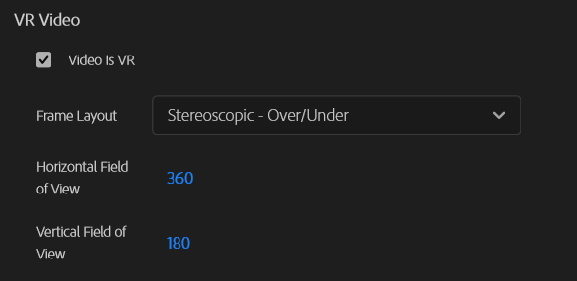
And to make the frames usable in a 360 video, I had to alter the camera in it’s Arnold section by switching Camera Type to vr_camera and Mode to over_under.
With the second scene I made a forest environment which would have frames of Rip Van Winkle and his dog, Wolf walking from one side of the scene to the other.
For this I only new assets I needed to import were some trees and the dog model. The dog model I also found on fab and when I imported it to Maya, I removed the animation and added the textures.
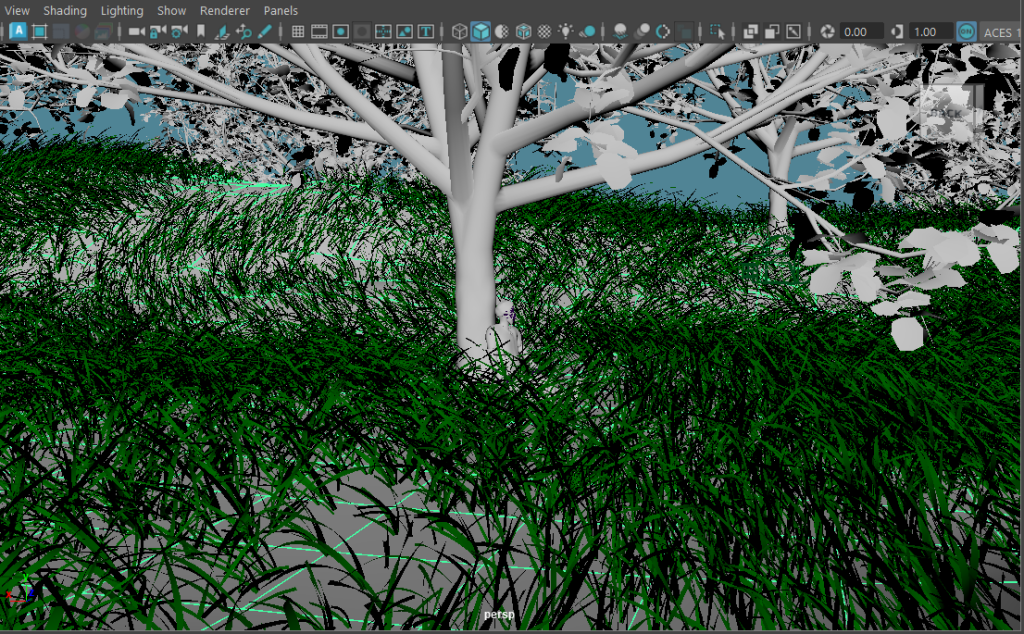
Unlike the first scene I couldn’t use just a flat plane for the terrain since the camera would be outdoors, so I applied the foamy tool to a plane to create some hills and make it seem more natural.
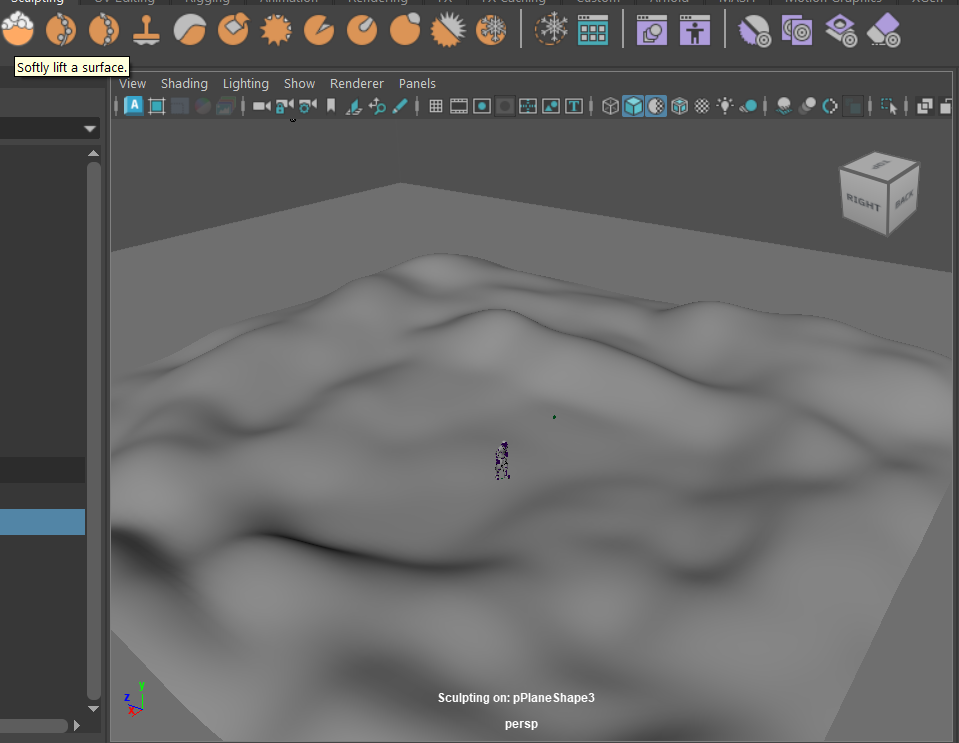
With this scene I couldn’t use MASH again to put grass everywhere, so instead I made the plane mesh paintable and painted all of the grass instead of duplicating it. Though a lot of the grass disappeared when I converted it to polygons, I filled those empty patches again until the whole terrain was painted.
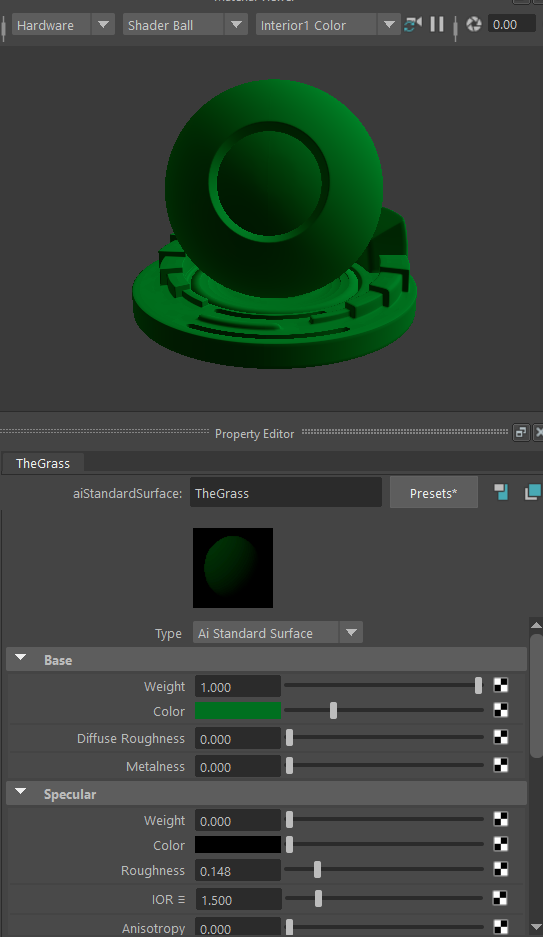
With the previous scene and this one I applied an aiStandardSurface material to the grass to it would look better when using the Arnold renderer.
So with the environment set up I needed a sky so I set up a box around the plane and added a blue aiStandardSurface material to it, but the box was so large I can’t get it all in a screenshot.
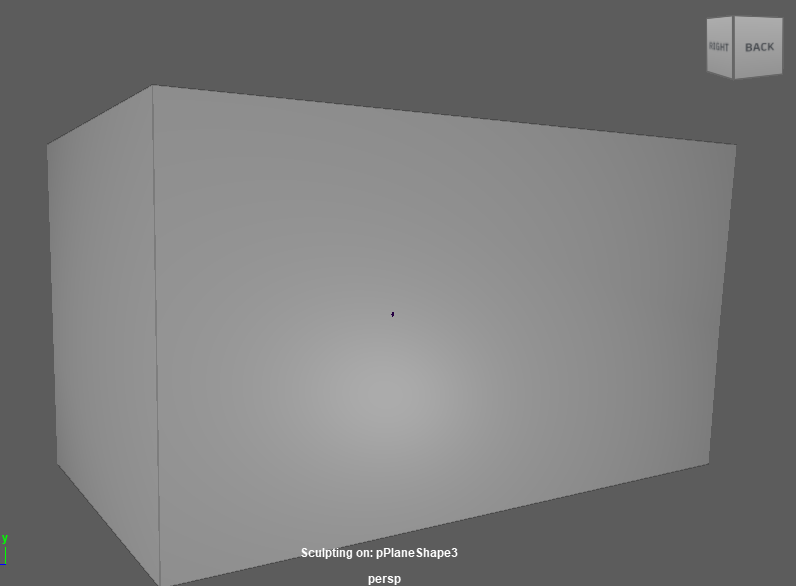
I would go on to use this method to add a sky to the scene for the rest of the environments instead of using a skybox material which I probably would have done if it weren’t for time constraints.
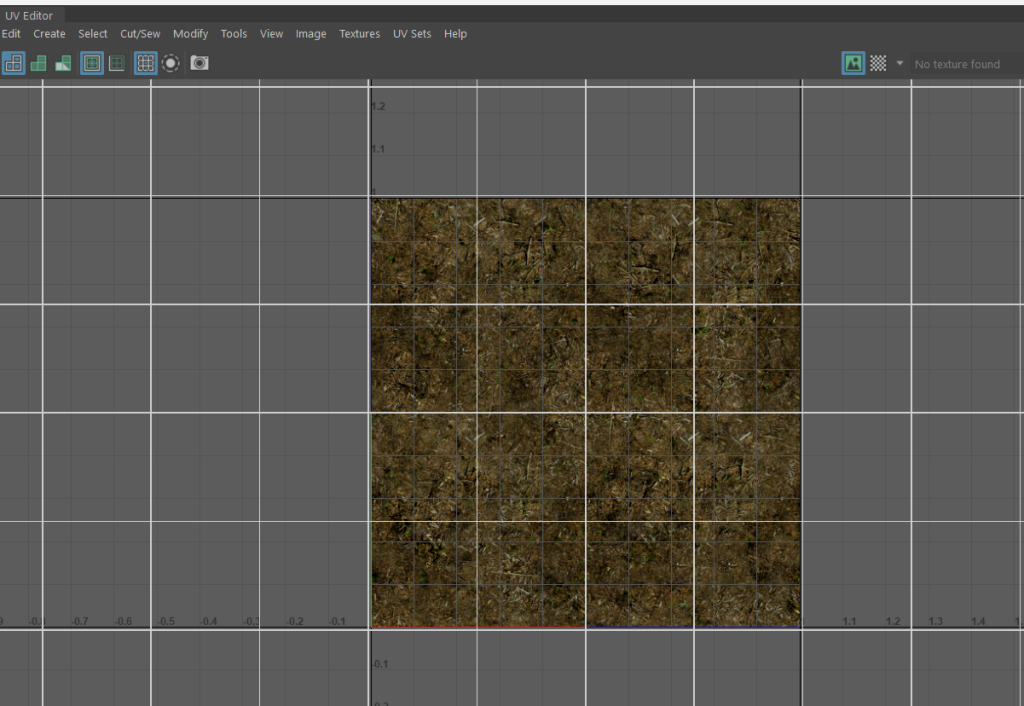
So for the third scene, it was a forest clearing and up until now I was using a solid ground material that I made by just changing the colour which I figured wasn’t too noticeable since most of it would be covered by grass. But for this scene I needed a patch with no grass for the nine-ball game to be played so I used a texture I got from CGTrader.
After adding grass, trees and 3D characters that were used in the previous scene, the next thing I did was add the three strangers that Rip Van Winkle would encounter in the story.
I found a number of characters for the scene from Fab.com but some weren’t fbx. files and others weren’t rigged, but in the end I was able to find three that I could use.
After this I also picked up a model for bowling pins for after I had rendered the characters’ introduction frames.
After that I rendered the game frames where the radiation character would be playing with the before and after shooting the ball (ball made in Maya) and would do the same for Rip Van Winkle playing after I rendered the characters noticing each other and where Winkle is invited to play.
After having Winkle drink from the keg I needed to create a new base colour texture for the older winkle after he wakes up to show the time that had passed.
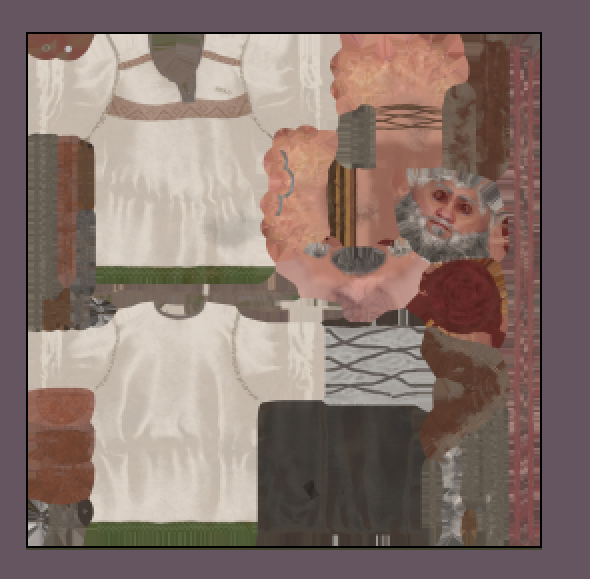
I did this by opening the original texture image file in Aseprite, a software I decided to use since I was familiar with it and had it on hand. The goal was to change the pixels of Rip Van Winkle’s hair colour by decreasing the saturation, however this would prove to take a while since I couldn’t alter any of the skin pixels.
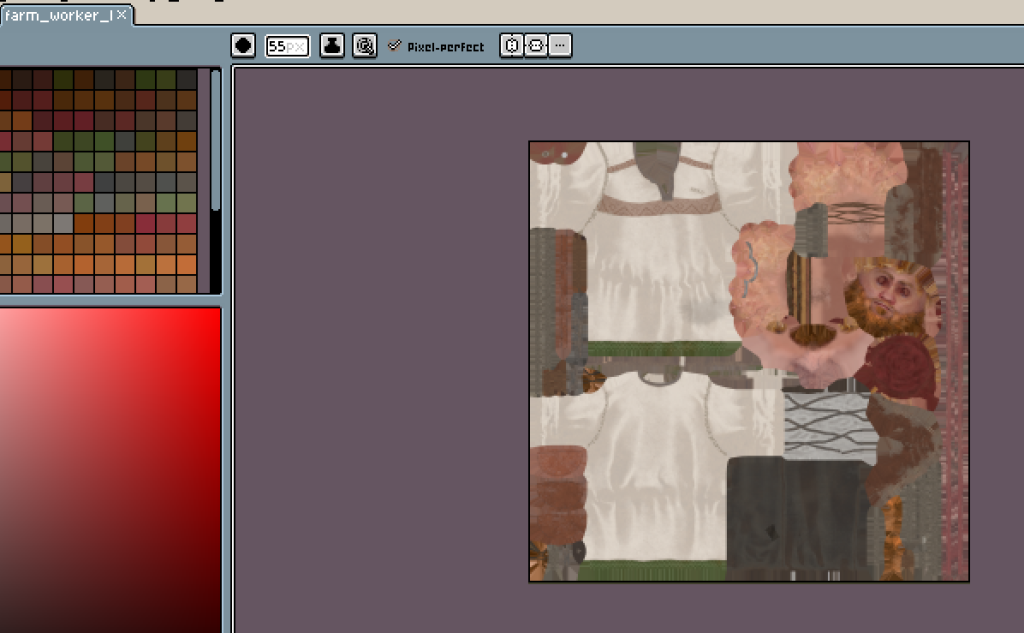
To make this easier, I created a new layer in Aseprite and copied the general areas where his hair was onto this new layer, from here I would use the eye dropper to sample the pixel hex codes for anything that is not hair, so just skin or the ties for the character’s beard. I would then replace these hex colours with a 0% opacity to make them see through. The idea is that after replacing enough colours that are quite different from the Winkle’s hair colour, I’d just be left with the hair on the layer.
I got this done after a couple of hours and I lowered the saturation of all that was left to make the hair grey.
After that, all for the scene that was left was to replace the original winkle base colour texture with this new one and render the scenes of Rip Van Winkle waking up in an altered environment.
For the alterations I made to the environment, I just decided to scale up the trees and replace the grass with a different grass mesh from the Get Brush menu in maya, one that is longer.
I reused the forest path scene for the next frames but did the same things for the alternate environment for the previous scene where I used a different grass paint brush and increased the scales of the trees, this being alongside changing Winkle’s base colour texture again to the older version.
These frames didn’t take too long since didn’t have to add much new to the scene, however, I did add the ground texture that I used for the forest clearing scene since it looked better that the solid material I had been using beforehand. This would though make the ground inconsistent across the scenes and reviewing the entire project video when it’s uploaded, viewers would notice the difference. Therefore, the more realistic ground texture was ultimately something I should have had from the beginning of the project and is something I would have re-rendered for the forest path scene if I wasn’t already pressed for time.
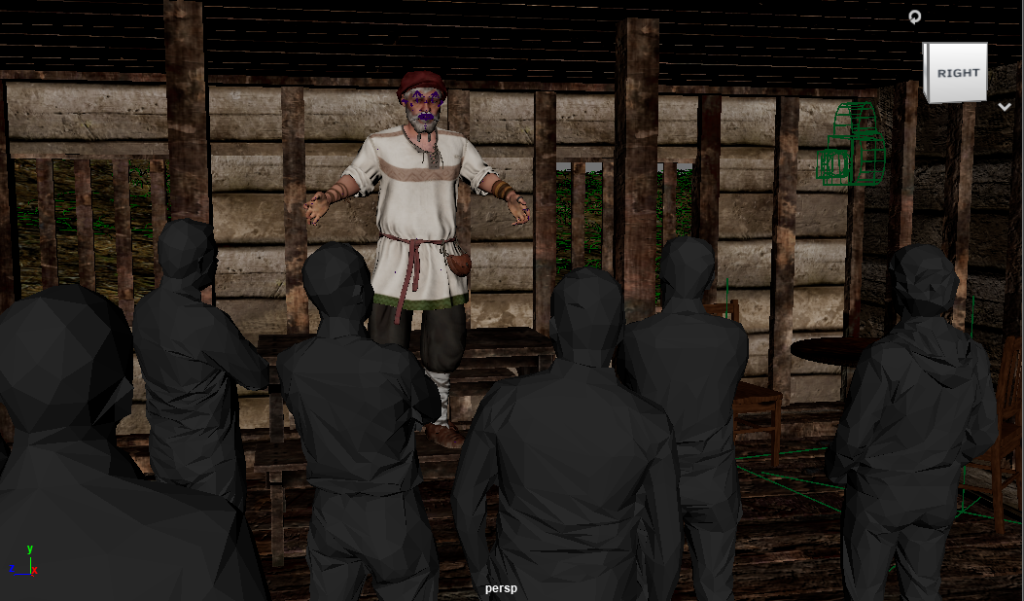
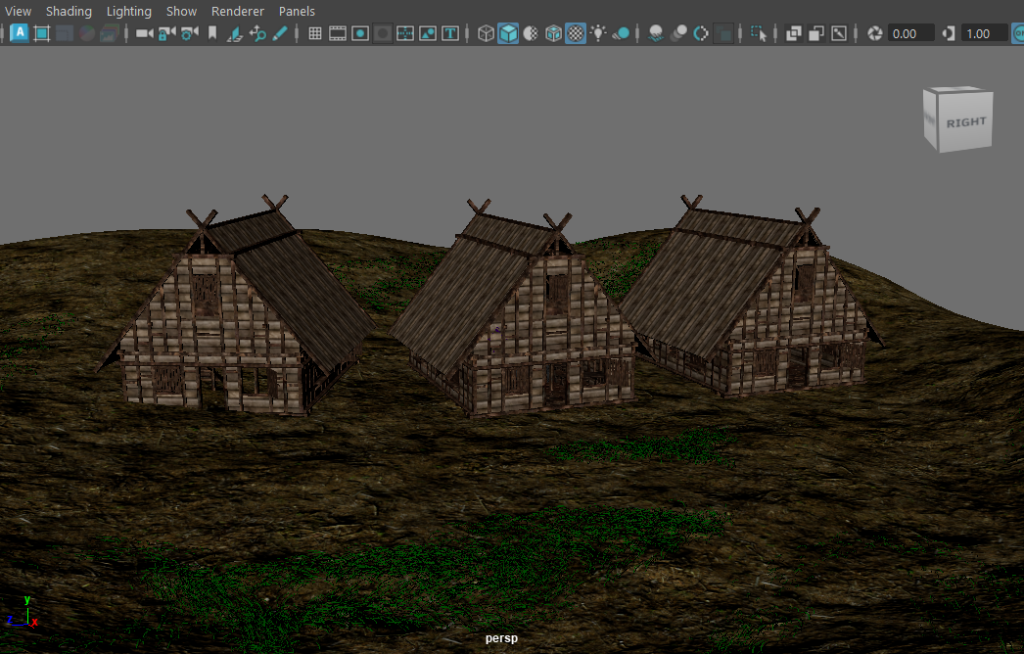
For the last scene, it takes place in the village which Rip Van Winkle was originally from, more specifically it’s tavern. At this point of the video the goal is to detail Winkle’s outlook on his situation and to tell the viewer what happens after. For the positions in this scene there won’t be very much just a simple scene of Winkle telling a group of people about his experiences and how things used to be like.
One of the assets assets in this scene are a new building asset that I picked up from CGTrader like the previous for the first scene of the project. All the other assets are ones that were used in previous scenes except the crowd of people which I was able to buy on sale from Fab.com, though I did need to create a new material for them since the file for the asset wasn’t an FBX and was very strange structurally.
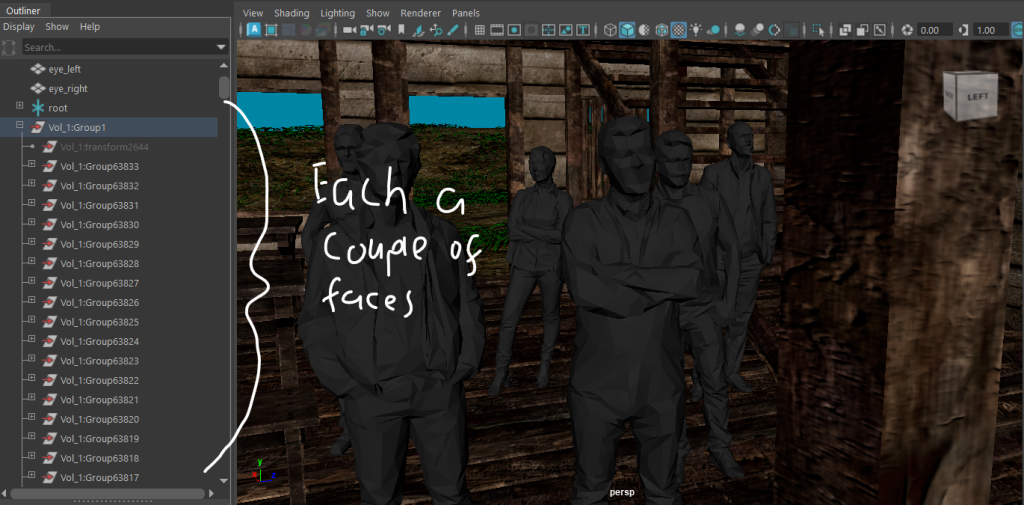
Instead of each person in the crowd being one object, there were thousands of individual assets that made up the entire crowd in the form of a few faces each, meaning that it would be near impossible to position each of the people individually. This mean that I needed to select all of the faces and use the combine tool to make it all into one object and then position the entire the crowd in a way that none of the people clip into any of the other objects in the environment.
I was in the end able to the position them correctly and all I had to do left was to import winkle and the furniture which wasn’t too hard since I had gotten used to it after importing so many assets for the project already, and after that just needed to render the frames as usual.
Post-Production with Adobe Premiere
Once all of my required frames were full rendered, I had to put them into adobe photoshop and provide a narration over it before I could upload.
I used Adobe Premiere Pro 2025 for this and got the narration from Play.ht which is credited in the final video.
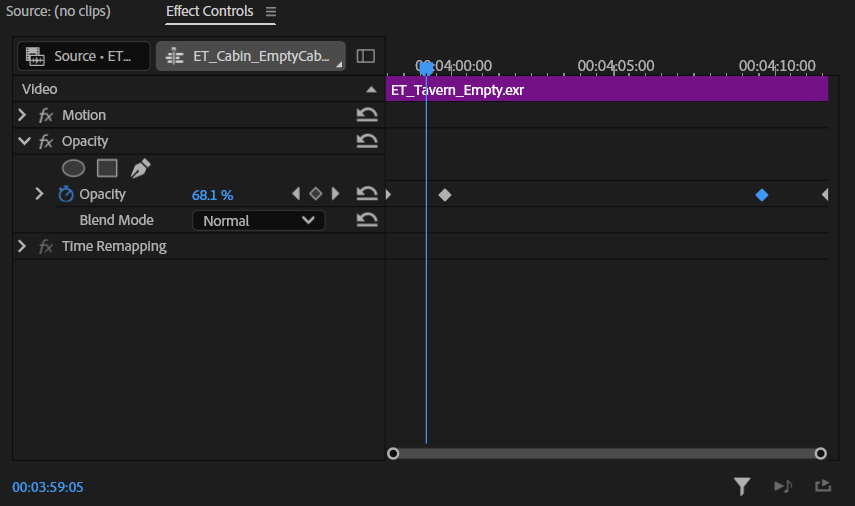
For how I originally intended for the video to have fade in and fade out elements was that I’d tune down the opacity in a different software, in this case that software was GIMP which is a free software that acts as an alternate of photoshop. This was the plan until I researched on what I could do in Premiere in terms of fade ins and turned out I was able to create keyframes in each of the images to alter the opacity in the software without having to have hundreds of frames to import.
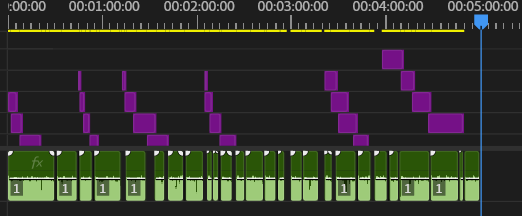
Though before I imported the frames, I needed to import the audio, this is because the audio will dictate on how long each frame will be shown for. So I had the AI narration exported from Play.ht and imported it into Premiere and positioned them in order with a gap in between so that there isn’t constant talking or so it doesn’t make the dialogue sound unnatural.
I did need to cut out some parts of the exported dialogue since the voice I used started making quips that weren’t part of the script for some strange reason.
After everything was positioned all that I had left ware to export it to YouTube whilst ensuring I select the VR settings when exporting so that the viewer can move the camera around when watching in their browser or app.
Final Video and Narrated Video
Below are the final project video and the narrated video of me talking about the process and the project’s overall purpose.
The credit list for the Rip Van Winkle video can be accessed though the links in the description of both videos, but just in case Google Docs doesn’t work, the references can also be seen below.