Overview
As part of the Emerging Technologies module, I am assigned to complete workshop exercises on the key areas of immersive design such as 360° videos, WebVR, Storyboards, UX Design, Augmented Reality and VR Immersive Art. Practicing in these areas will assist me in developing my production piece in relation to modern technologies.
Maya and Unity are the softwares I am the most familiar when starting this module but I have spent considerable time in VR if only for mostly entertainment purposes, but I hope these experiences will make the learning process smoother.
Prototyping Immersive Experiences
360° Maya Render
For the first project I had to render a 360° Video using Maya, so I started out with setting up the scene. At first I wanted to do a paranormal jail cell scene where the viewer is in their cell and the door swings open violently by itself and when the viewer tries to leave they are forcefully pushed backwards by an invisible force.
After putting some work into the scene I had a different idea that I thought would make a better experience visually. For this one the player is involved in a elevator failure that causes them to fall to the bottom floor.
For this new idea I started with making a elevator, which included metal sheet flooring railings and ropes to hold the platform. This took a longer that expected since making the divots in the metal flooring was quite tedious. But after that was done it was smooth sailing!
After making the elevator platform, all was left was the pipes, the elevator interior and doors, and the hallways.
I used a simple sky dome light and turned off cast shadows for the hallway rooms so it was brightly lit and the elevator was darker in contrast.
The last bit was rendering which I had to use a VR Camera so that the viewer will be able to look around in YouTube. Rendering took quite a while since I went over the 10 second limit to 18 seconds.
MASH Networks
With MASH, I am able to manipulate objects in a more efficient and easier method – providing tools to duplicate, position and scatter in useful patterns (stairs, rings, rubix’s cube), manipulate the position with objects when met with a interacting force without animation using physics simulations, the deformation and reformation of objects and much more.
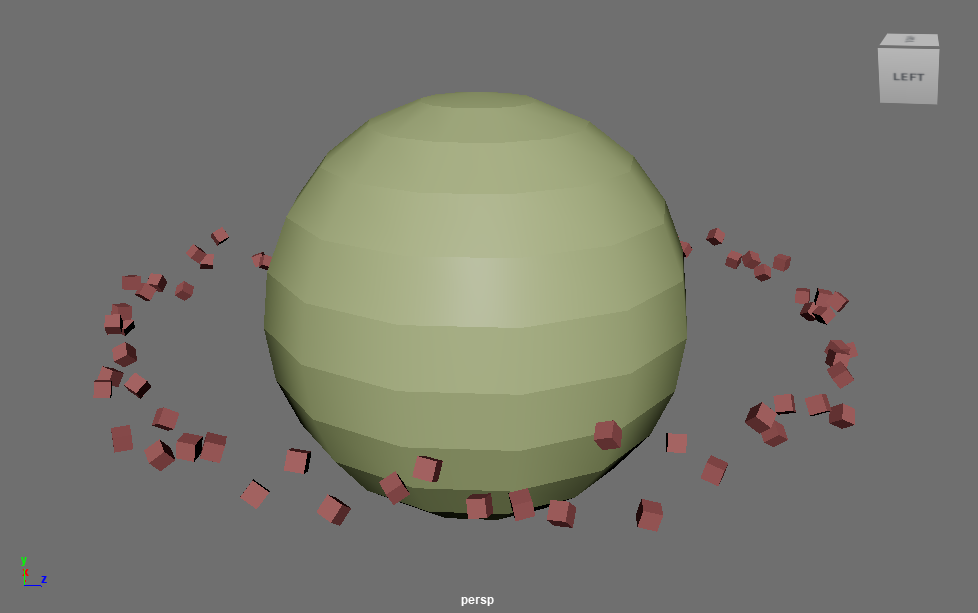
I tested the MASH network in Maya and explored the uses. Something I had made is a planet’s ring using the random and distribute modules in the MASH Editor. Changing the distribute type from linear to radical was what made the cubes align as a ring, and after increasing the radius to be big enough to circle the planet it was done.
Summary
Having worked with both 360° video and MASH will prove to be useful for my production piece as I could integrate both elements into it if I choose to cover this type of media for it. The use of story spheres during my exploration can also be recalled to properly plan out my production piece beforehand.
WebVR
FrameVR
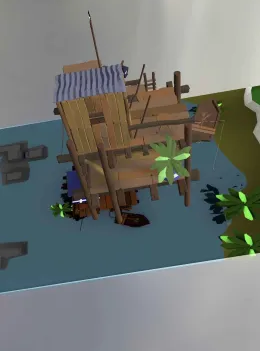
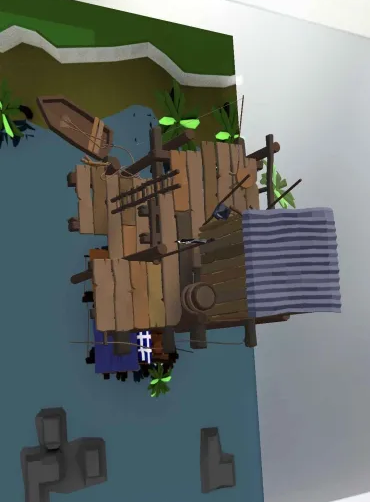
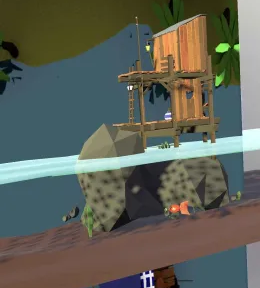
For the second workshop, we got to use FrameVR to create a VR scene that can be experienced in VR if the user has a headset or on their computer. With this exercise, I took in a couple of the pre-made scenes that were available upon creating an account with the website on my computer.
One of these scenes included a photo gallery which gave me the idea to create my own when I made my scene for the workshop.
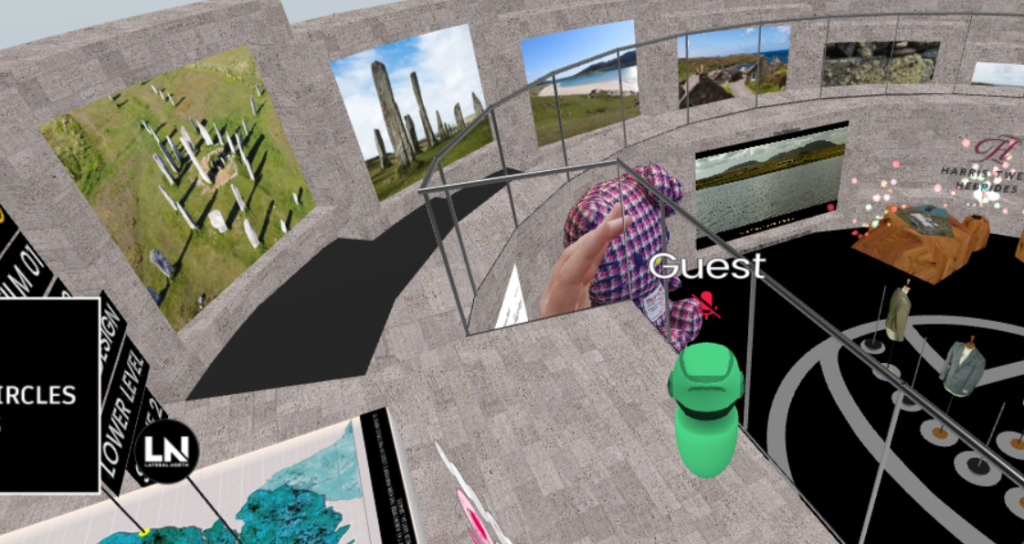
After I was done with my exploration, I created my own scene with the gallery preset. From here I discovered how to navigate the menus and add objects into the scene with the help of the tutorial when I opened it for the first time.
I firstly worked one of the premade assets that were available to me when loading – a dog model. With which I duplicated and made it spin in the water at the entrance. Afterwards I discovered the creation menu, with which I could get an AI to create models that I can place within the scene to I created a lifebuoy to also put in the water.
I then proceeded to add AI generated art, a dinosaur model also made by AI, some of my own screenshots, a Chatbot that guests can talk with, pixel art assets to the walls of the gallery as well as an interactable web browser to my blog website in a side room.
The full gallery is shown in the video below but can also be entered through the link here, provided that it can still be used after the FrameVR trail has ended.
Augmented Reality with ZapWorks
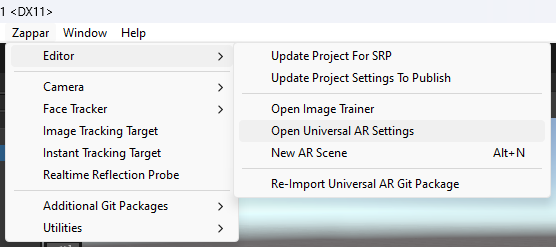
For our Augmented Reality exercise, we used both Unity – which I am very familiar with, and a new tool called ZapWorks which allows models to be displayed when scanning a image like a QR code.
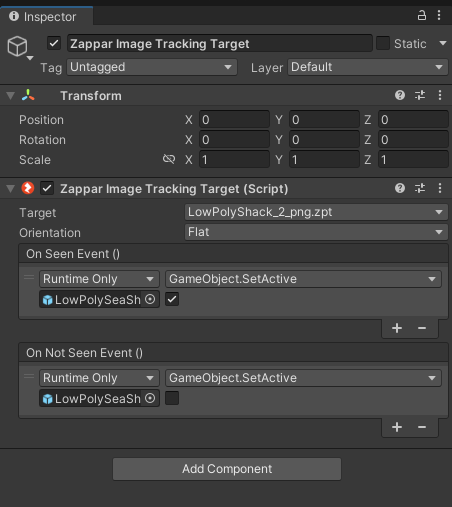
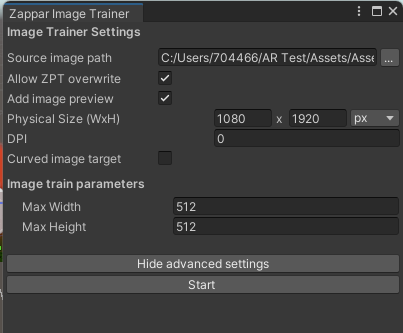
Firstly we had to make a 3D unity scene and install the Zappar Universal AR SDK from a GitHub link. After doing so add a rear facing camera and an image tracking target. The image tracking target had to be matched to a image that we were provided and then linked to a model that I then imported to the scene and positioned on the tracking target. During this process I would also have to set up the Image Trainer and edit the Zappar Image Tracking Target script to toggle the model’s viability on an off depending if the image that needs to be tracked is also visible.
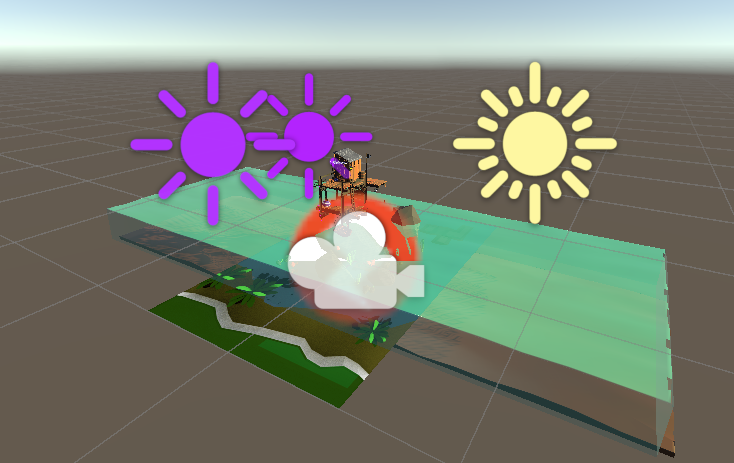

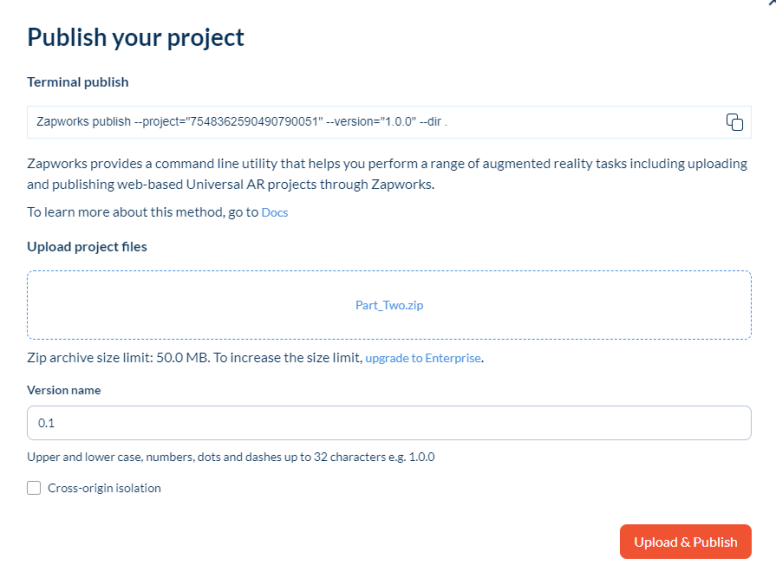
Upon switching the build type to WebGL and initiate that build, I needed to create a project in ZapWorks and implement the build into the website.
I went on ZapWorks using a trial license and created a new project with the Unity SDK since that was the software I used to set up the scene. After I named the project to “Zapper Animated” and uploaded the build of the animated model before I published the project.
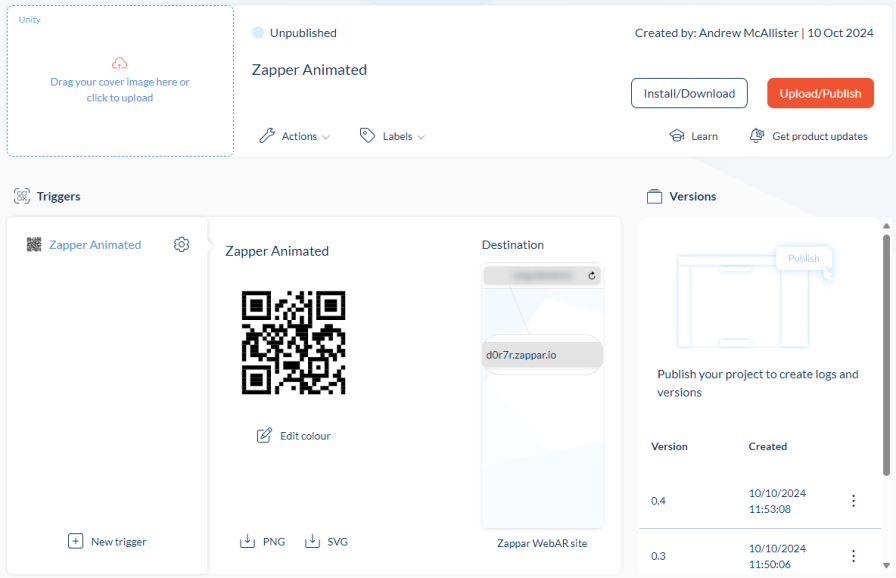
Publishing the project allowed me to scan the QR code with any phone and present the model whenever the camera detects the target image. Here are some photos from the workshop of this working:
Summary
Both of these platforms of WebVR can have many applications in and out of my future production piece. One being if I choose to do a VR Immersive Art project I could implement my art pieces into a FrameVR scene where they can be viewed in VR or with a computer. Specifically for AR, I could use Zappar as a information source for educational institutions by setting up Unity scenes that display models and text when a image is scanned that could help in a classroom.
VR Immersive Art
The final section of this blog post is our VR Immersive Art exercise, of which the first tool our group used was Gravity Sketch. This software and the others we used during the workshop, we had accessed via an Oculus Quest provided to our group.
During the session, we took turns with the headset as we each implemented our own additions to the projects. During my time on the headset I made a rough house design using an empty box and the paint tool to add doors windows and a roof, as well as a lawn and road in front of it.
After I was done, there were more additions made to the project by others in my group such as colour and a sky. The final model can be seen in our recording below:
Another of the tools we used was Shapes XR which is a tool that can be used in VR and Computer at the same time if there is multiple project members. While using this software, I found it to be a bit more difficult to use in comparison to Gravity Sketch so I didn’t spend as much time to add to the scene and rather try to figure out how it works.
The result of our time using Shapes XR was a small scene built with the basic building blocks the software provided. This scene included a kind of sitting area with a chair, table and plant along with some smaller items that were placed on the table. Closer to the end of the exercise someone added a more professional made living area that one would more expect to see in a home than the first area.
The next application we used was Open Brush which more resembles a 3D canvas for painting than something you would use for 3D models. I would have to say a good use for this is painting without having to use a physical easel or paints, also, it will allow you to export and import images made with the software so it can be used in a digital format.
During my time in the software I got to learn how it worked and add some of my own small contributions to the scene.
The additions I made was a jeweled crown and some pixel-art-esque hearts that I decided to add after looking for inspiration from the game Undertale (2015) by Toby Fox. After that I decided to hand over the headset to someone else.
I possible flaw that I could see is that I couldn’t find a way to draw which uses the same axis to make a flat image. This means that there would likely to be a curve that aligns with the reach of the user’s hand, this could make it difficult to export the artwork as paintings to put in a virtual museum made with something like FrameVR.