In this final Dev Log I’ll be going through making the last level for Caught Red Handed.
Level Design
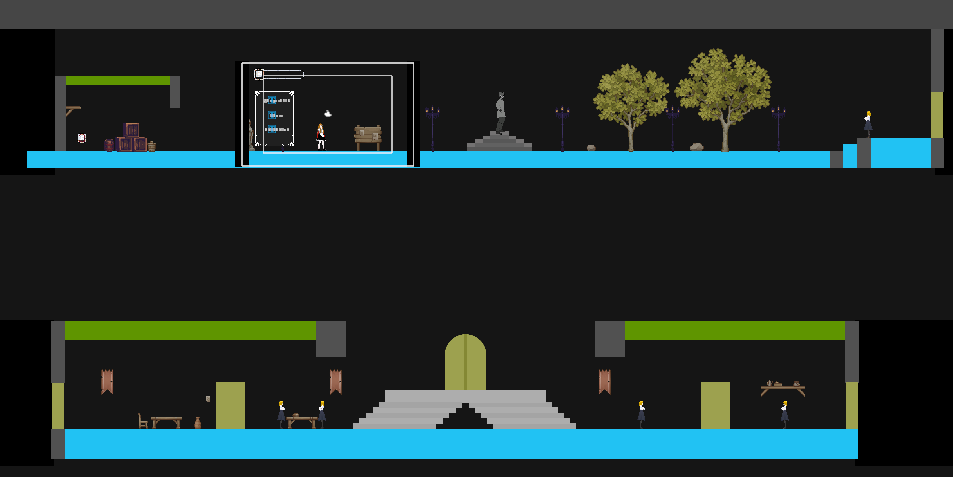
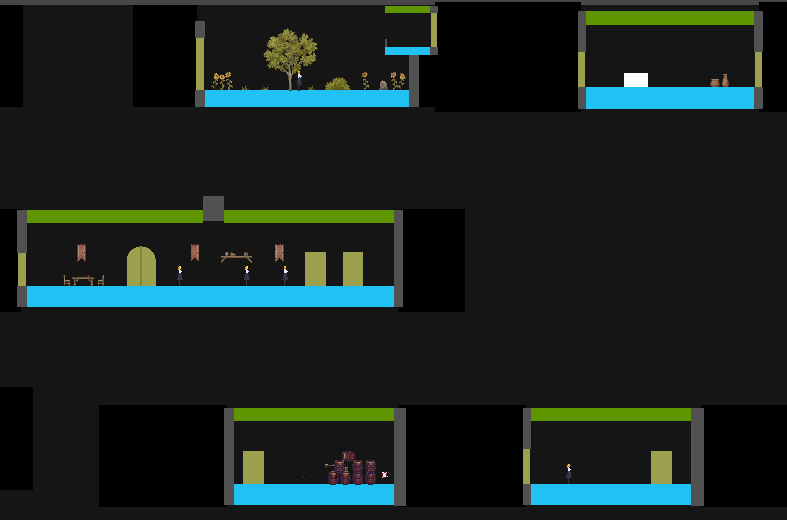
Like for the first level, I started with creating a level block-out in Paint and as well as in the Unity scene. For the second level the player will start off outside of a mansion which they will later enter. The mansion will have a variety of rooms which have their own unique aspects, NPCs and items.

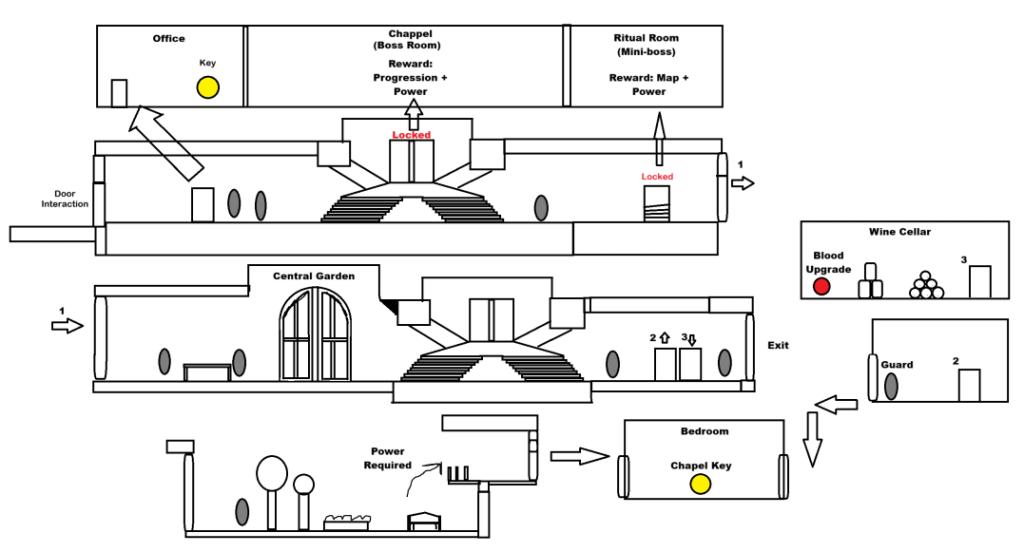
When making the level I thought of different ways the player can approach it, for example, the player can reach the bedroom either by the room inside which has a guard or by using a power in the central garden.
The first image includes the set for the previous cutscene which won’t be included in the level. Another aspect of the level is that there’s a blood upgrade on the left of the character which rewards the player if they break the general idea a side scrolling level’s beginning you can’t move left.
The chapel is in the first room the player enters in the mansion which solidifies an area they need to enter and they will adventure the map to try to find a way in, so early on the player has a goal.
Camera and Doors
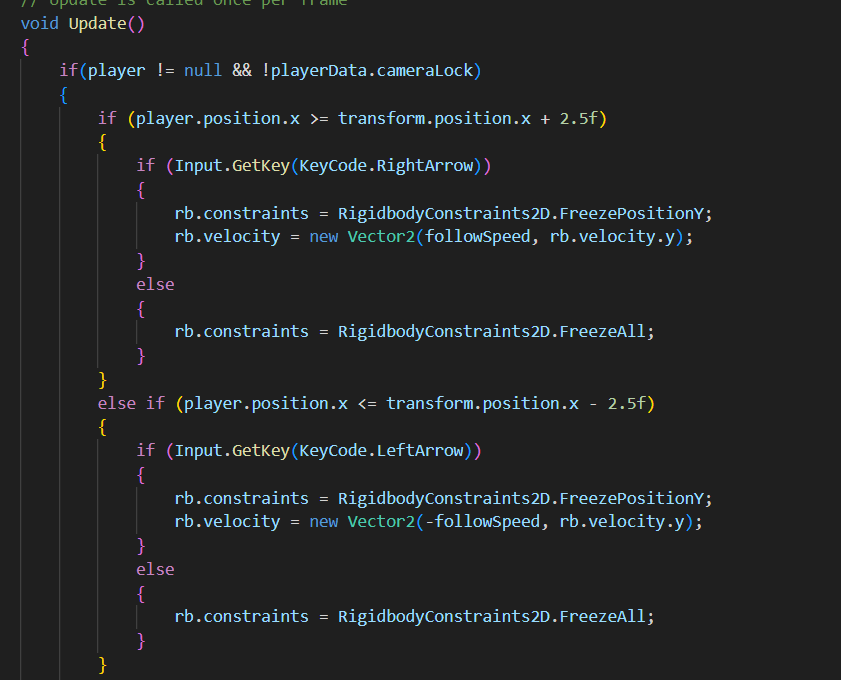
For the camera, I decided to shift from the cave level’s room by room camera transitions to a following camera that moves when the player starts moving while they’re a certain x distance away from the camera centre, this is because a lot of the areas are too large to use border transitions without interrupting the flow of the game.
Aside from the camera follow script there’s now doors which open up a message box that gives the player the option to enter the room, and if it’s excepted the camera will move to the location that is specified in the inspector alongside the player to their new location.
Health Bar
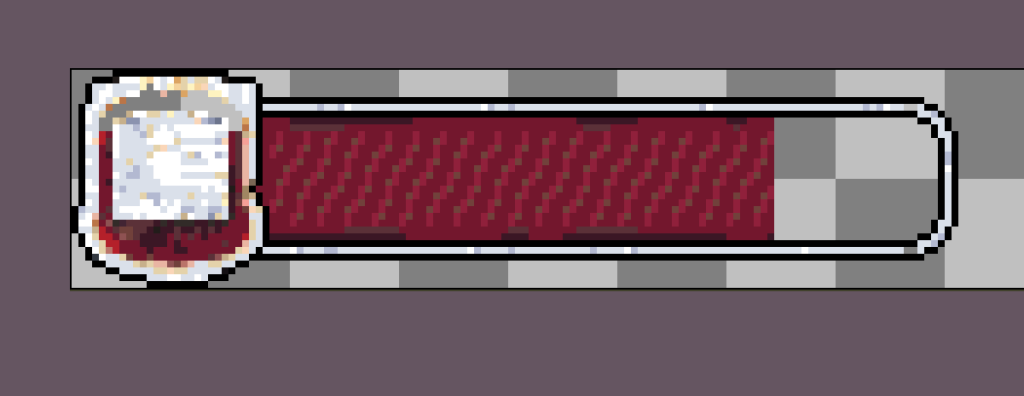
For the health bar I opened up Aeseprite and imported the blood bag item icon that I used for the blood upgrade item. After I added a bar to the right and edited it so it showed the health bar as full and then saving the file as healthBar_100.
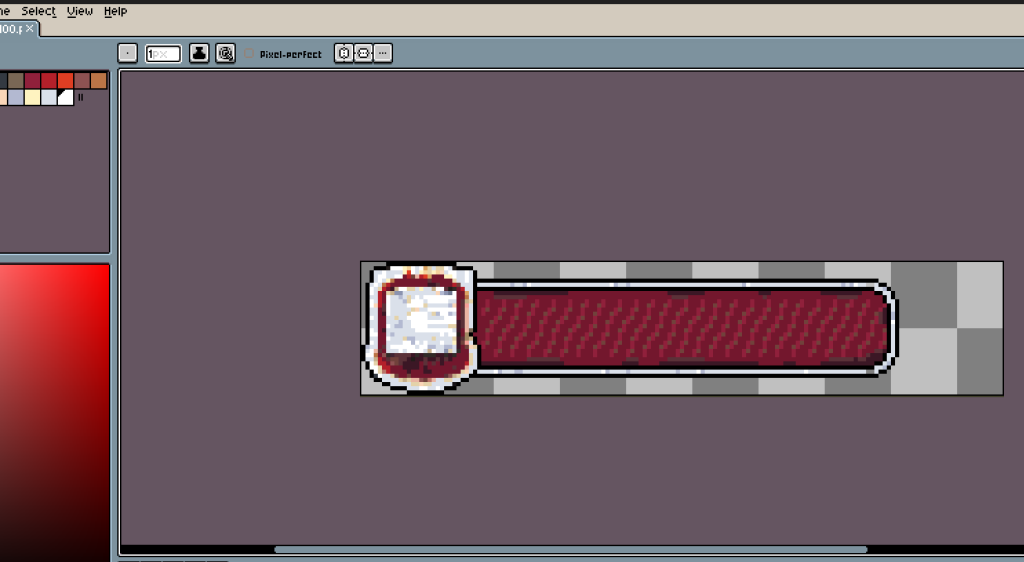
I kept erasing on column of pixels on the bar per frame and one row on the blood bag every four frames until I reached healthBar_0, so thats 101 frames.

I then imported these into the scene and attached one of the frames as a gameObject to the camera and placed it on the top left of the view.
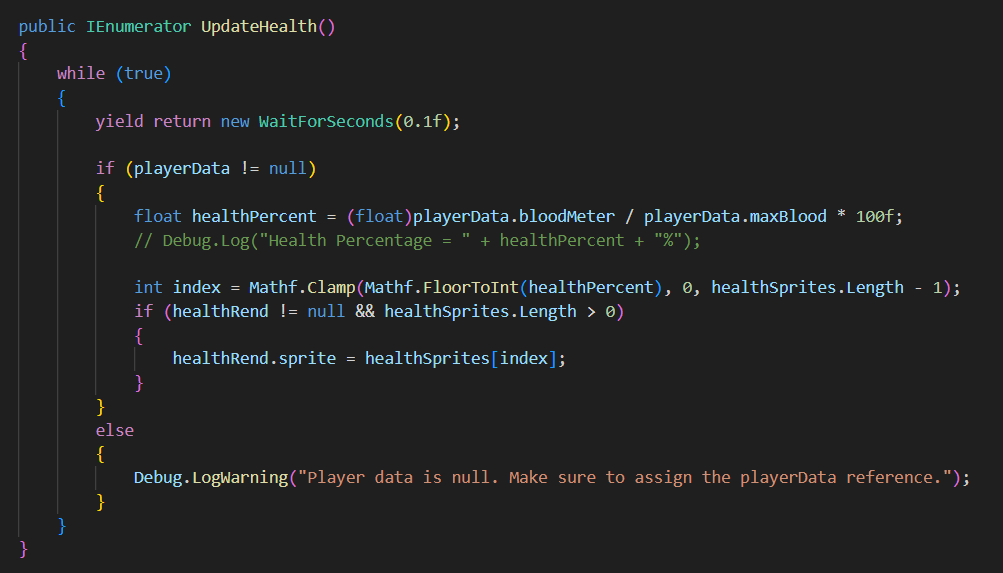
All that was left was to match the health bar to the blood meter / max blood percentage.
I used ChatGPT to help me with this part after trying on it by myself for a while by giving the AI what I had which was a public list of each of the frames which I added in the inspector and trying to generate a percentage of the health, changing it to an int and using that to change which sprite was shown.
NPC Dialogue
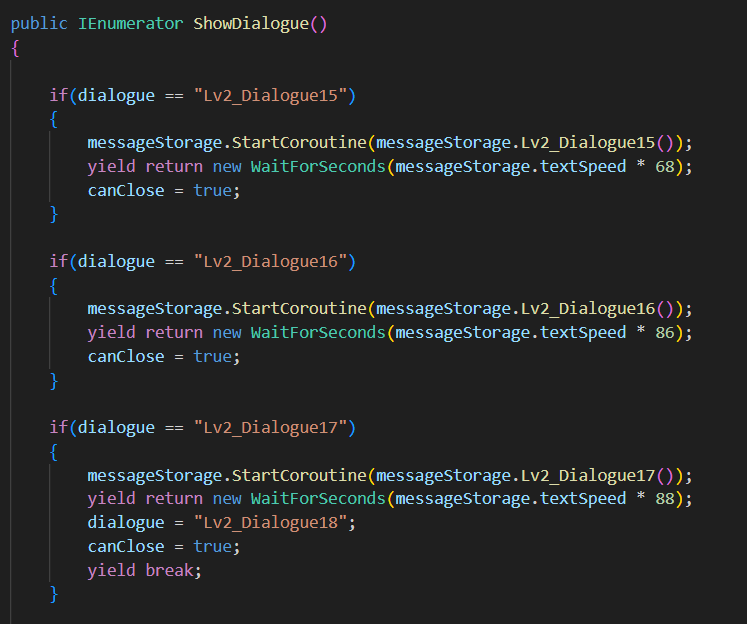
Like the interact script, the NPC Dialogue script uses the Message Store script to display the dialogue text as well as the character profile pictures.
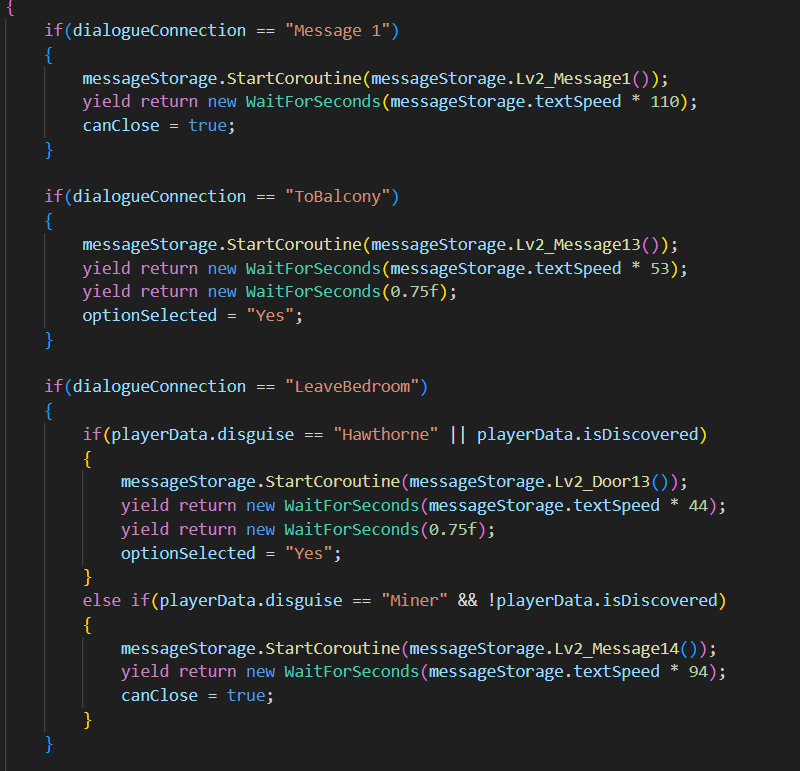
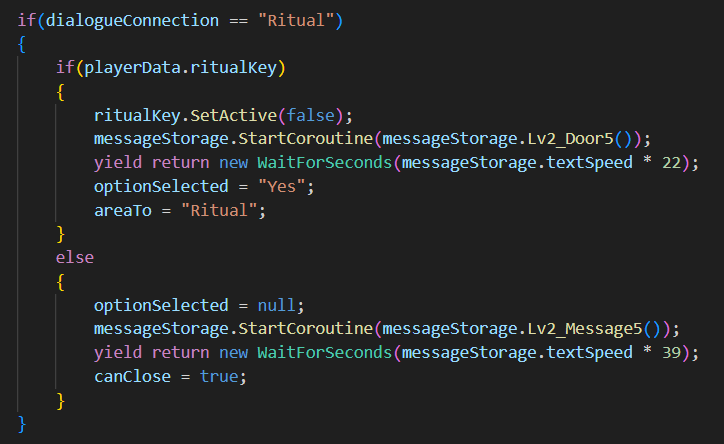
Two of the NPCs in the game switches their dialogues the second time the player interacts with them, this was done by changing the dialogue variable to the next one when the first is called in the coroutine such as with the if statement above, if(dialogue == “Lv2_Dialogue17”.
Player Attacks
The player has access to two types of attacks, a melee and projectile:
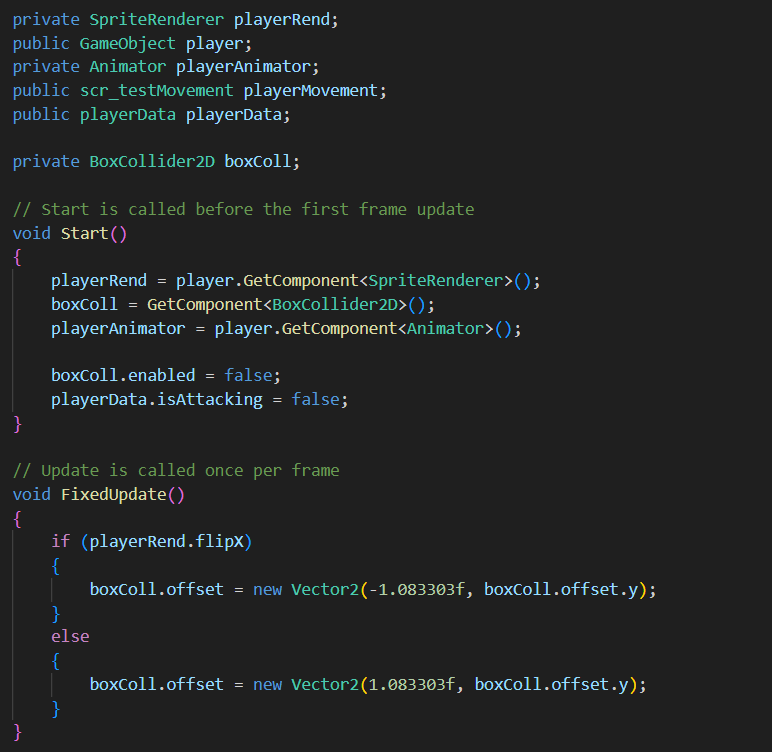
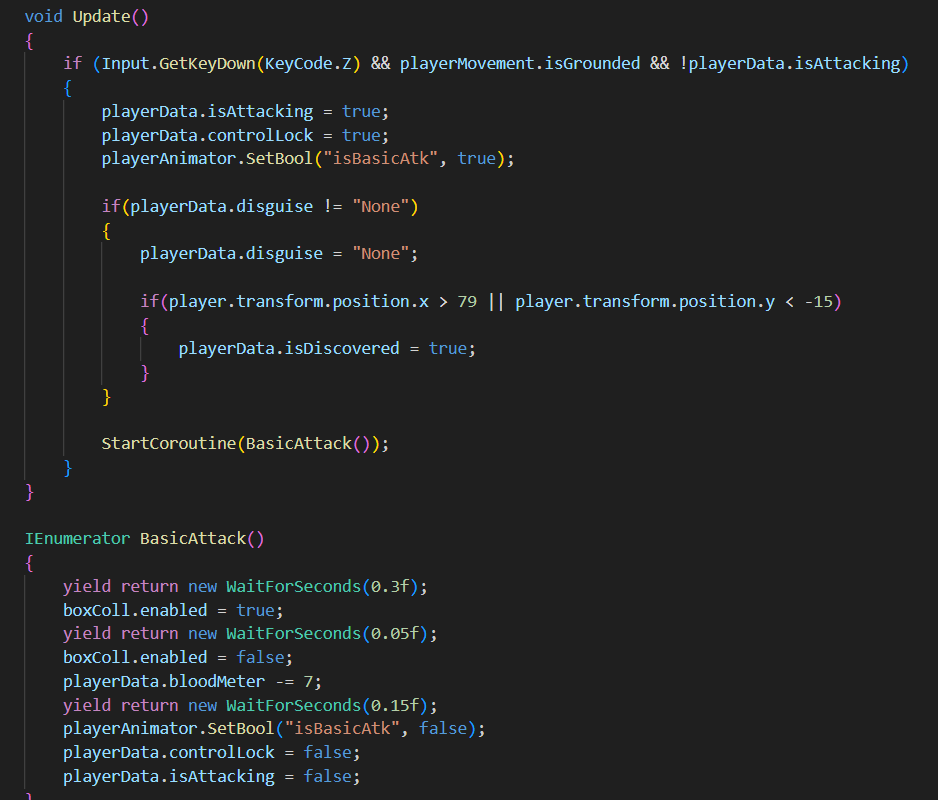
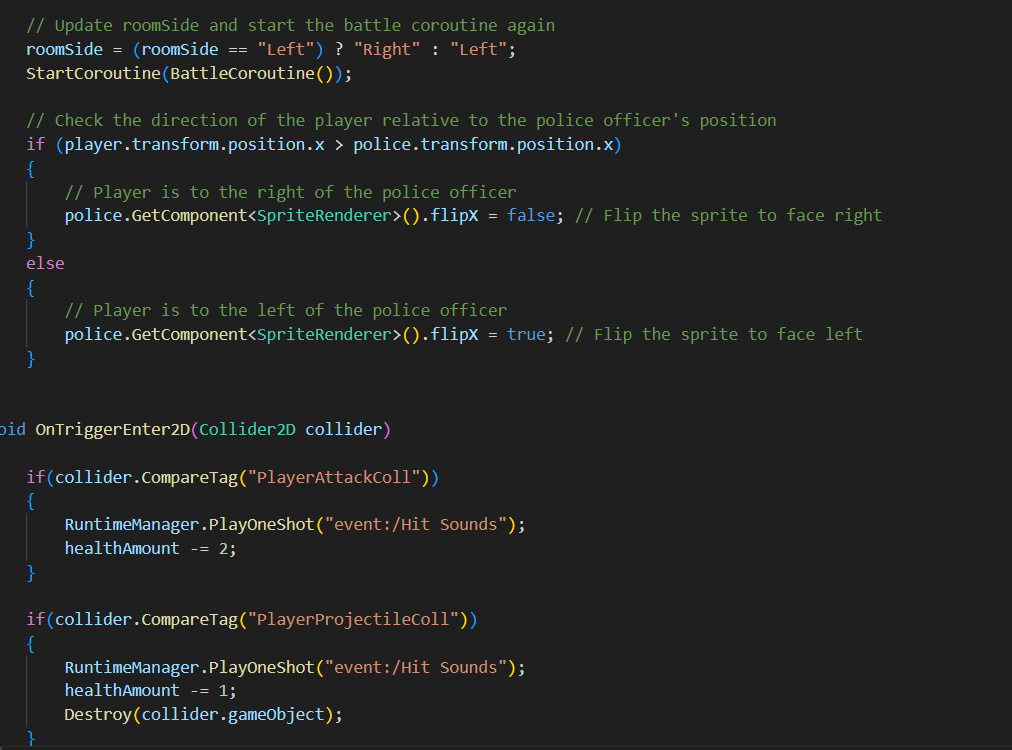
The melee attack script is in charge of managing the player’s melee attack animation, changing the box collider’s offset based on where the player is facing.
You may notice that there isn’t any damage enemy code, that’s because the enemy damage is all managed on the enemy’s scripts and will deal damage when the enemies enter into an object with the playerAtackColl tag or playerProjectileColl tag.
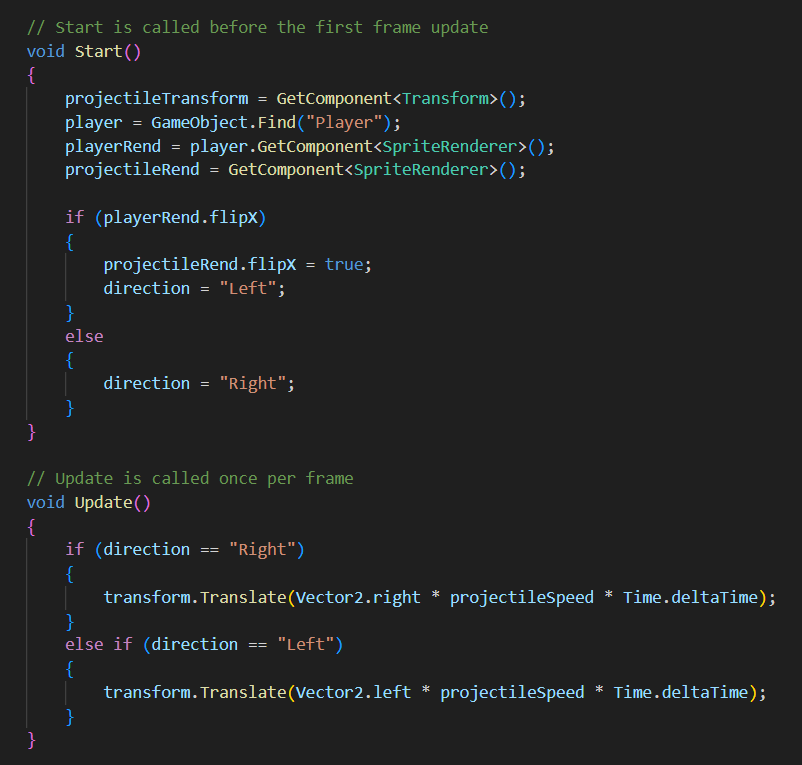
This is the script that attached to the player’s projectiles which determines which direction they will move they they are instantiated.
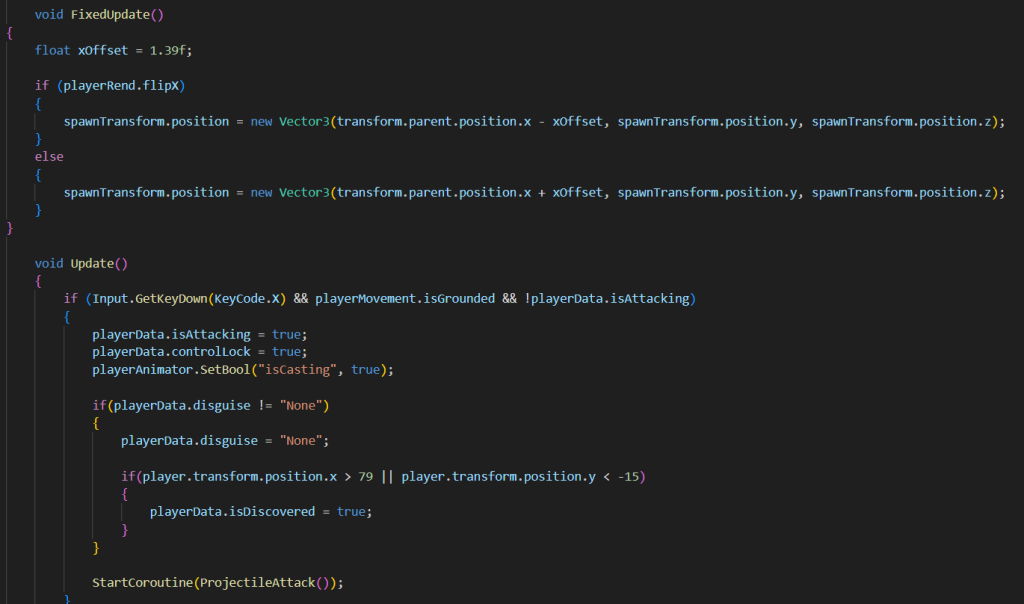
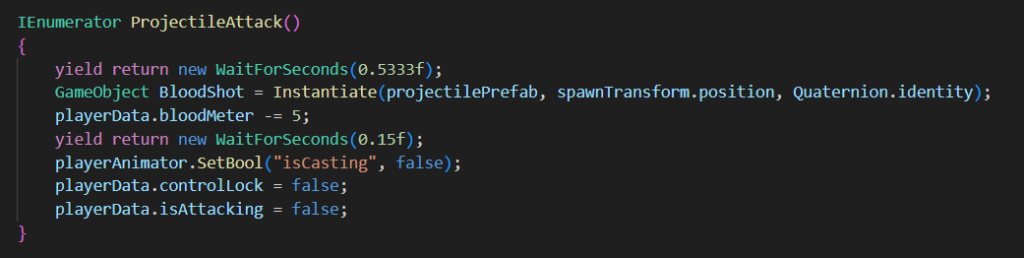
The last two images are for the Projectile Spawn script which like the melee attack sets on where the projectiles spawn based on where the player is looking, decreasing the blood meter and managing the player’s casting animation.
Keys
There are two keys in the level, one in the office which opens the ritual room and one in the bedroom which opens the chapel. Once the keys are collected they will appear on the top right of the screen to indicate to the player that they the keys. Both of the key’s trigger a bool in the playerData scriptable object which is called upon when the player interacts the ritual and chapel doors.
If the player tries to interact with either of the doors without the appropriate key, a message will appear stating that the door is locked and a key is required.
Disguise Mechanic
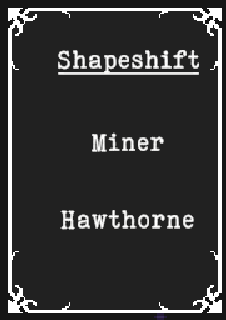
The disguise mechanic allows the player to shapeshift into either the miner or Hawthorne provided they have them unlocked . Shapeshifting is accessed through the shapeshift menu by pressing S and selecting the disguise you want.
Depending on the disguise the player can reach areas they normally wouldn’t, for example if the player is disguised as Hawthorne, they can enter the bedroom without getting stopped by the guard outside.
A more early example is at the beginning of the level where if the player approaches the entrance of the mansion without a disguise, it will alert the building and the NPCs inside will become patrolling enemies who can’t be interacted with and if they make contact with the player, the player will take damage. This will also happen if the player uses an attack, forcing them out of their disguise while in a public area.
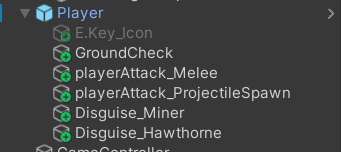
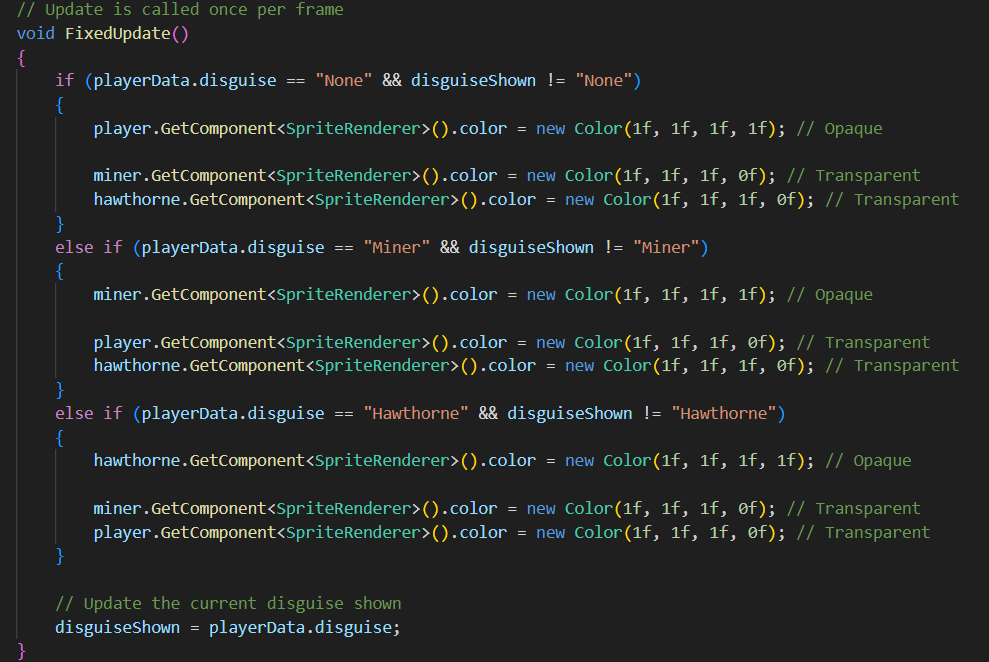
The Miner and Hawthorne disguises are attached to the player game object and still run their animations, only they’re transparent unless they’re selected.
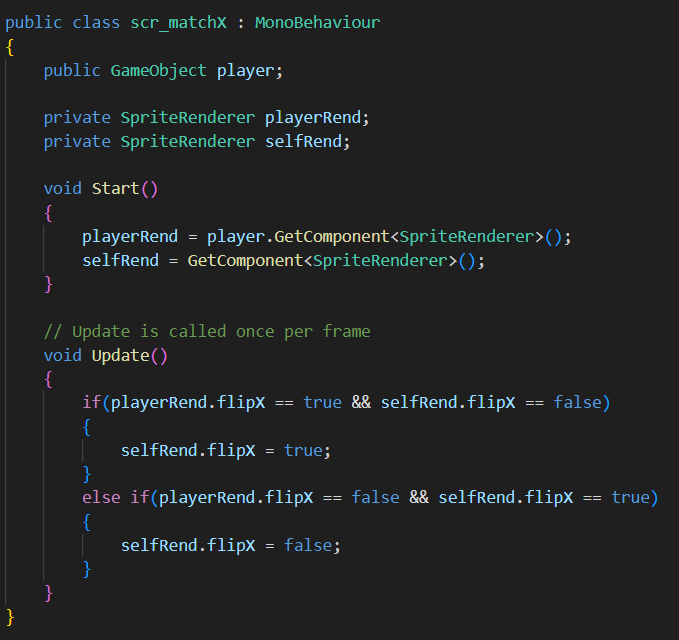
The disguises also have a script attached to them the will match the player’s flipX bool in the sprite render so that the disguises face the correct way.
Enemy Patrols
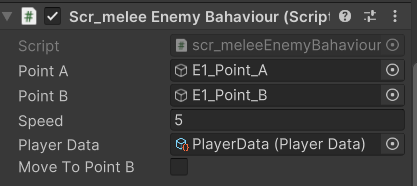
The enemy behavior script has a mechanic so that the enemy will move between two points if the player is discovered. This script was created with the help of MoreBBlakeyyy’s video on an enemy patrol AI:
Before I had the enemy sprite set up I only used capsules for these enemies, but when I added the enemy animations the enemies will no longer move when patrolling. To fix this I kept the capsule sprites but turned them transparent and attached the new enemy gameObject on top of the old ones so that the new gameobject moves with the capsules. This also needed me to set up another match flipX script for the new gameObjects.
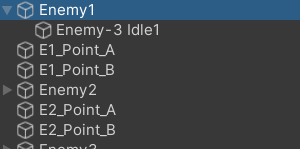
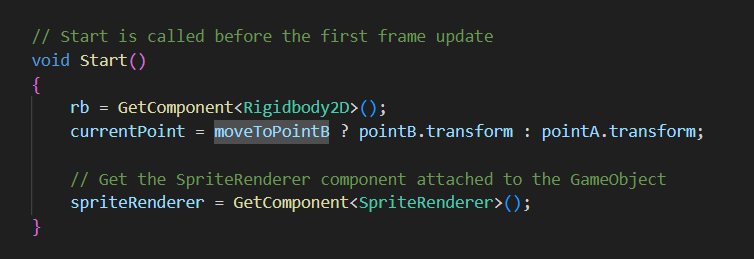
The original script from the video only made it so the enemy has to start on the B point, so the enemy always starts off moving left. To make it so that the enemy can start at the A point i made a public bool changes the starting target position.
Bosses
The game has two bosses, one optional and one mandatory.
The first boss is Hawthorne which is optional. They can be found in the ritual room which starts off locked. When the player enters the ritual room a cutscene starts where they encounter Hawthorne who has extra lines to say if the player is in disguise.
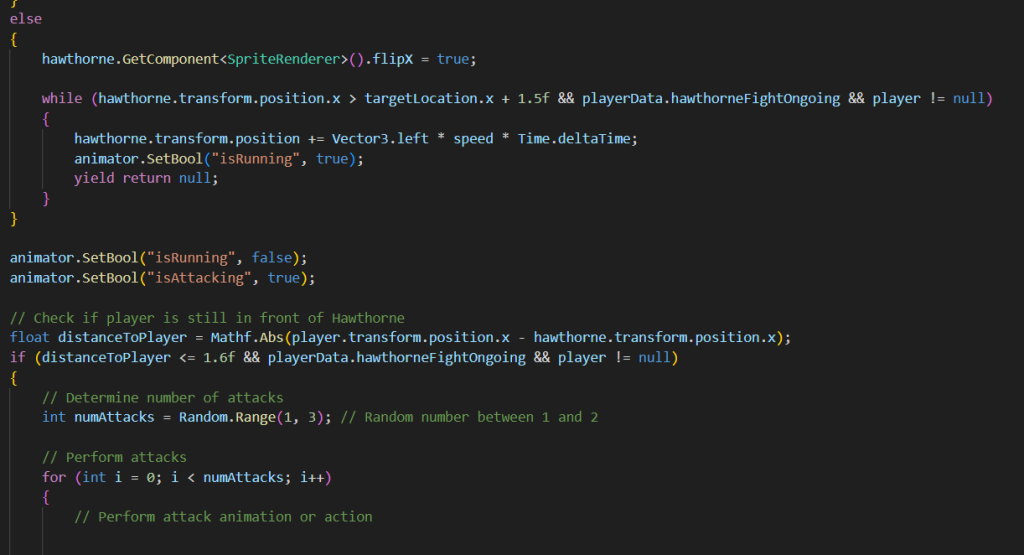
After the dialogue the fight start and Hawthorne will begin to attack. The AI for Hawthorne works like this:
Approach player until certain distance away
Wait some time
Check if plyer is in attack range
If yes, attack one or two times
If player is in range when attack hits, deal damage
If no, run towards player
This AI forces the player to keep their distance from Hathorne if they want to remain unharmed.

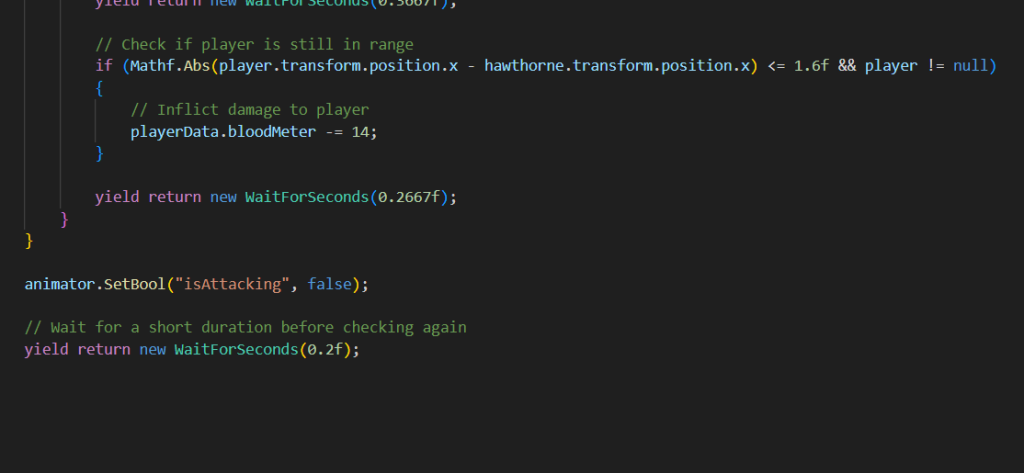
It is important to mention that both of the scripts were made with the assistance of ChatGPT to some extent.
Once the player defeats Hawthorne, they gain the ability to shapeshift into him, gains a map of the mansion and replenishes their blood meter.
For the Jax fight, the AI for the character goes along the lines of: if the player is on the other side of the room keep shooting, and if the player is on the same side of the room as Jax, he will dash to the other side to start shooting again after a bit of time. While Jax is shooting, the player will have to make their way towards him by jumping over the bullets and once they reach him, the player can time a melee attack or shoot projectiles until he reaches the other side of the room and starts shooting again.
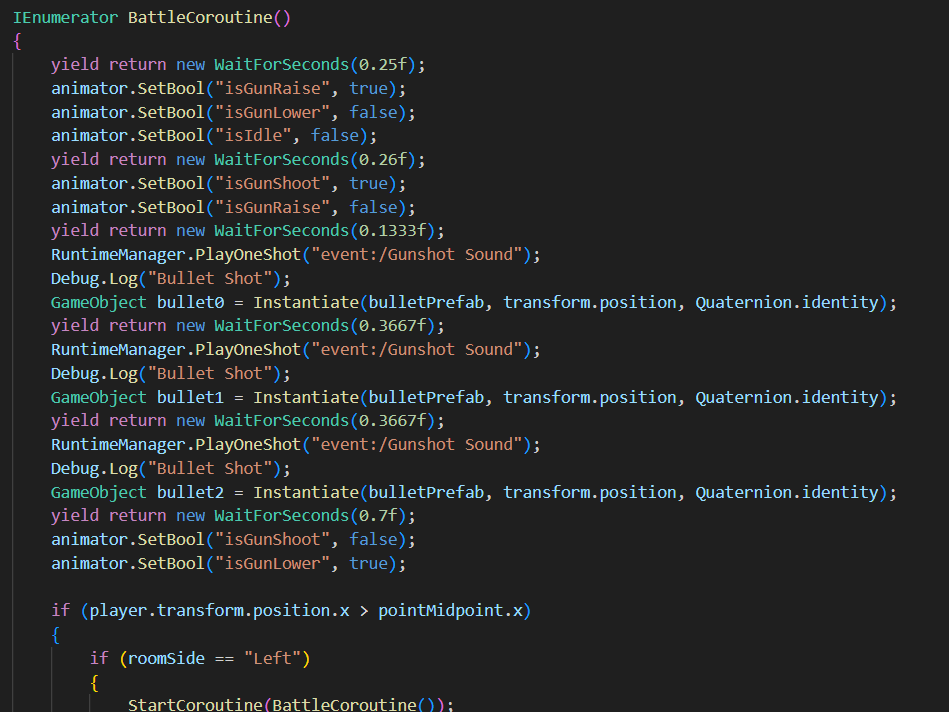
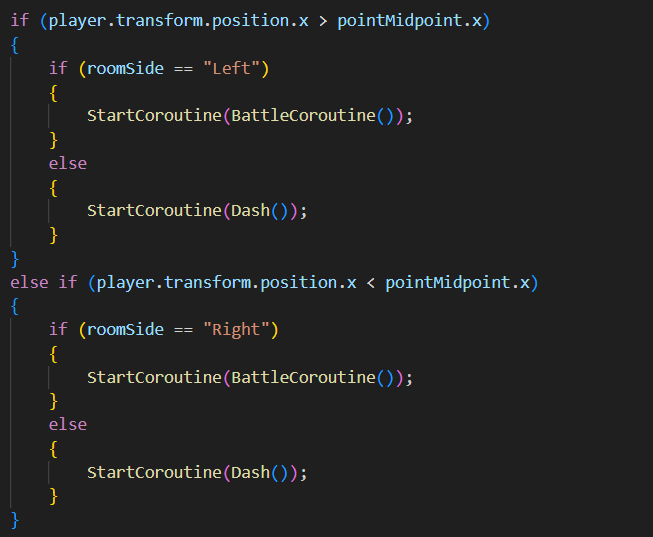
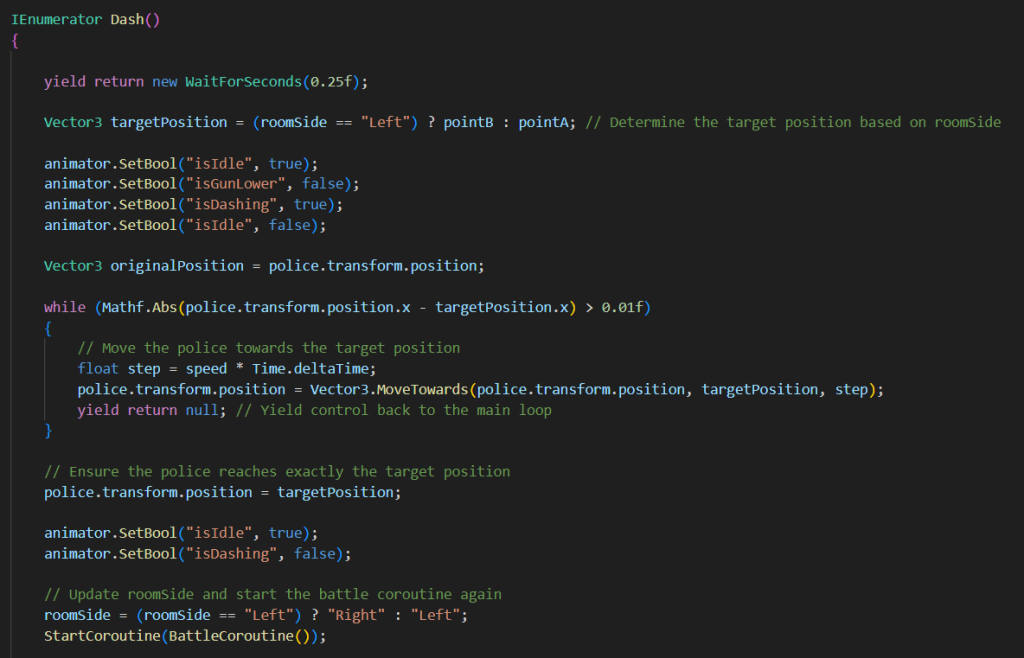
ChatGPT was primarily used for the dash mechanic after instead of moving the gameobject to the other room side at a set speed, he would just teleport to it location.
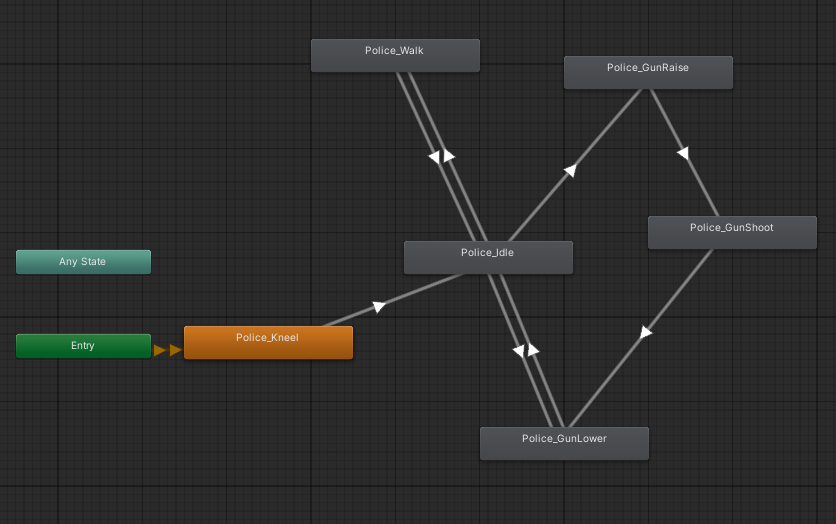
In terms of Jax’s animations I had to change the animator window so that idle is the default animation since the previous default animation was kneeling and since it was was used as a connecter for each of the animations, when switching animations a frame of kneeling would show.
These two boss battles contrast as one is to do with keeping away from the boss while the other is trying to get close to the boss. I really like how this was done since each of the boss battles feel unique to each other.
Main Menu, Credits and Sounds
I asked Hayden to make the main menu and credits for the game which he then sent to me as well as the FMod project for the game of which both he did a good job working on as the sounds have really improved on the gameplay.
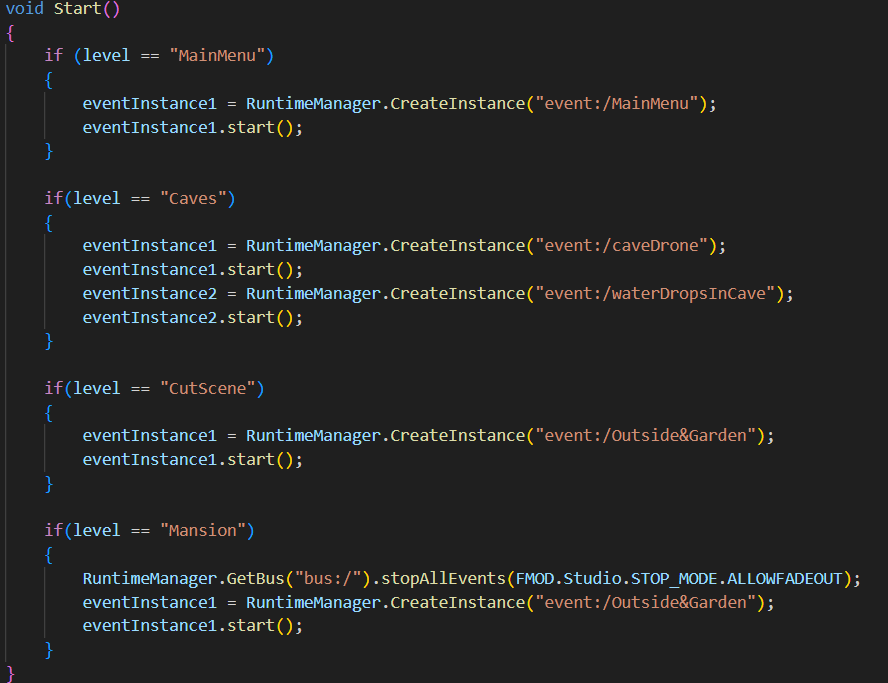
For the Main Menu and some of the music I used a script called scr_audioController which starts certain music depending on the scene and stops music when the script is destroyed after transitioning to a new scene.
For the sound effects of items, attacks and other music, they have been scattered along scripts and which take a long time to go over each one so I’ll give an example for the Message Store and Blood Upgarde Pickups.

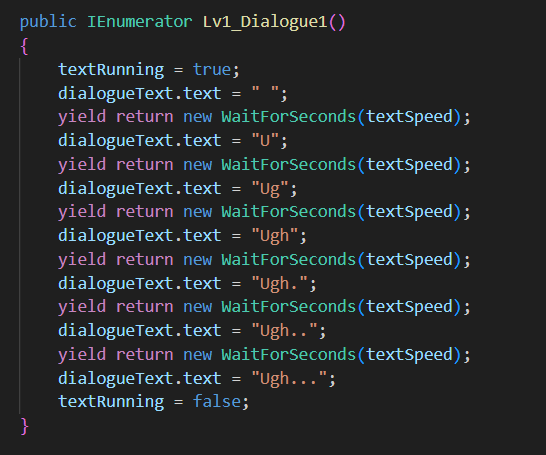
In the message store, I added it so that if the textRunning bool is enabled the characterText sound effect will play which has a loop on FMod. For this to work, I had to add the textRunning bool to the starts and end of each of the dialogues and messages.
For the Blood Upgrade Pickups the sound only plays once for when the player’s max health is increased.
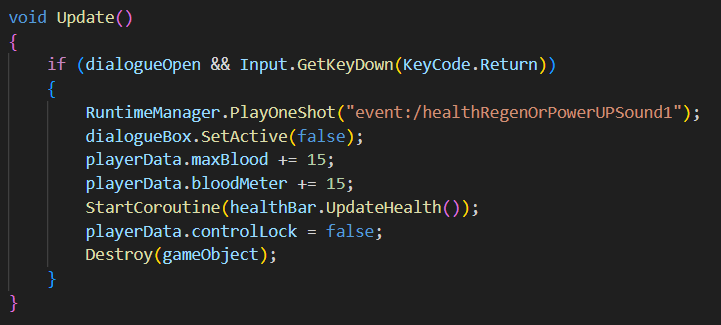
This script uses a PlayOneShot instead of the CreateInstance from the Message Storage and to be honest, I found that the PlayOneShot was the most simplest of the two options to start the FMod Event.
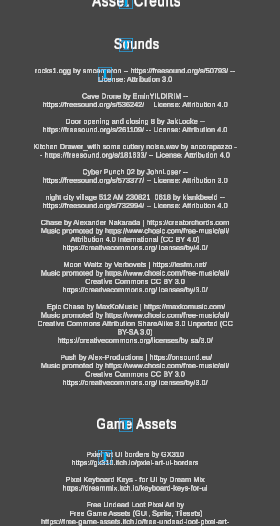
After adding all the sounds, I updated the Credits to include all of the credit required sounds used in the game as well as any game assets and fonts that needed credited.
Additional Mentions
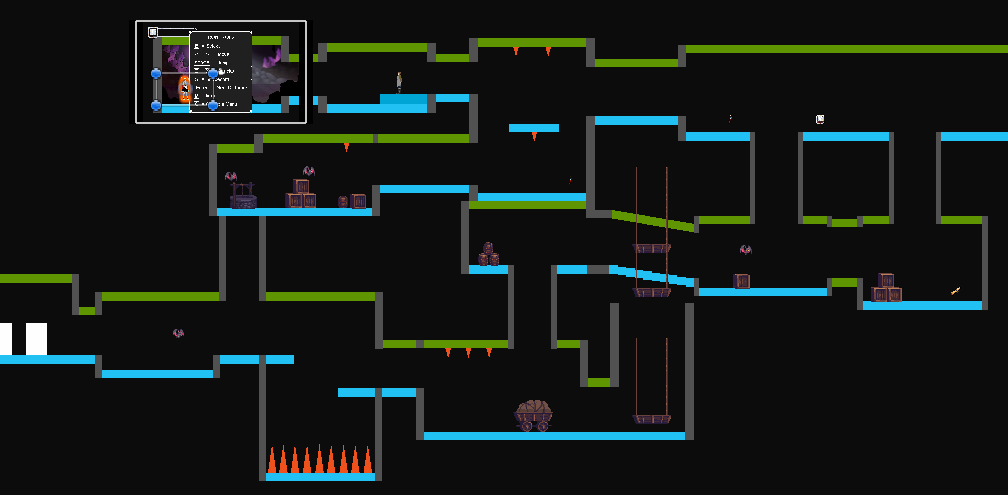
During this Dev Log I needed to look for game assets to use for the environments that didn’t exactly fit the art style we were going for, most of which were pixel art assets, this was because there wasn’t enough time from when we asked Leon to make these assets to when the game had to be done for to get a tilemap for our own assets including ground, wall tiles, and some background assets.
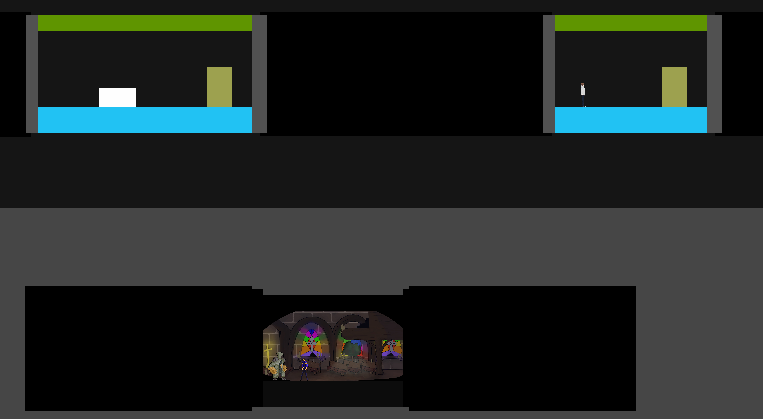
These are the final levels with the assets:
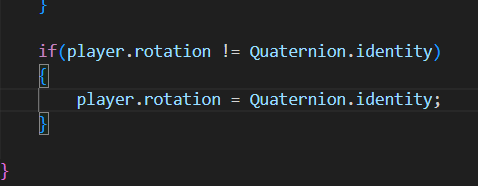
I was able to get a Playtest of the game near to end to figure out some bugs and to check if the player speed values were working as intended on other computers (which they did). During the playtest, some bugs were made apparent such as the player gameobject rotating when falling down the cave’s pits which I fixed with this code:
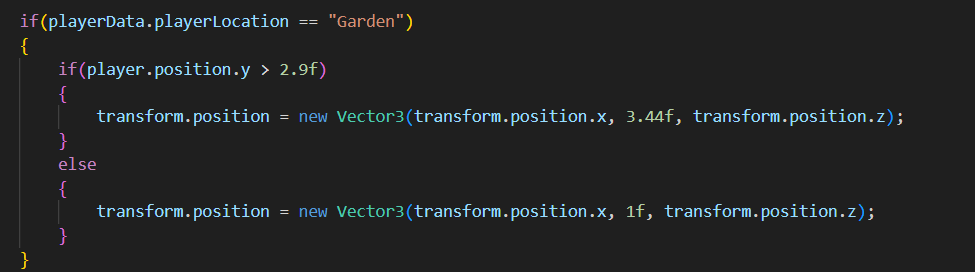
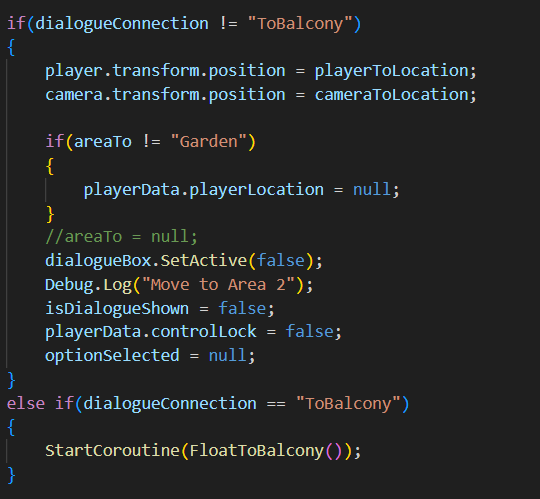
And another was the garden camera not changing when the player falls from the balcony after using the float power which I fixed by stopping a playerData.playerLocation = null; code line from running if the dialogue connection was ToBalcony. (This bug shows up in the playthrough video but was fixed after the video was recorded and is now fixed in the submitted game)
Also some minor bugs with the second level with the final boss were discovered and fixed concerning the bullet speed.