Planning
Hello! This is my blog page that will go on to describe and explain my process of creating a one minute cutscene as part of the Post-Production and VFX module of my course. The cutscene will be made using Unreal Engine 5 and edited afterwards with Adobe Premiere Pro 2023.
The cutscene that I am making was initially going to be made for a video game, which after creating a storyboard for could work for some extend. But while drawing up the storyboard, I found it better to demonstrate a ending cutscene for a film piece since it, through my perspective, better suited the medium and reminded me of what I have previously seen in film.
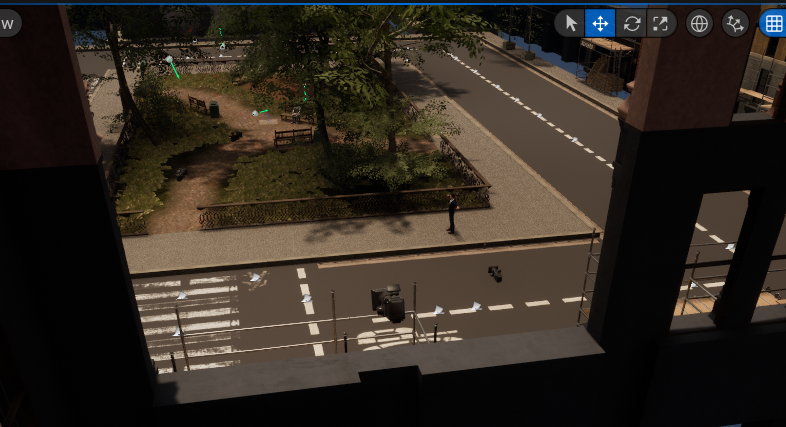
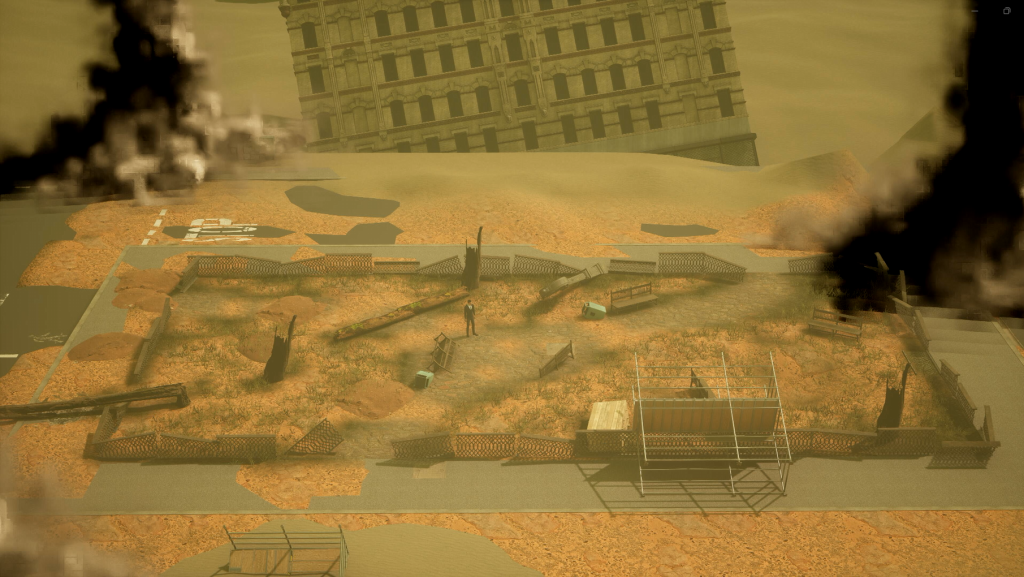
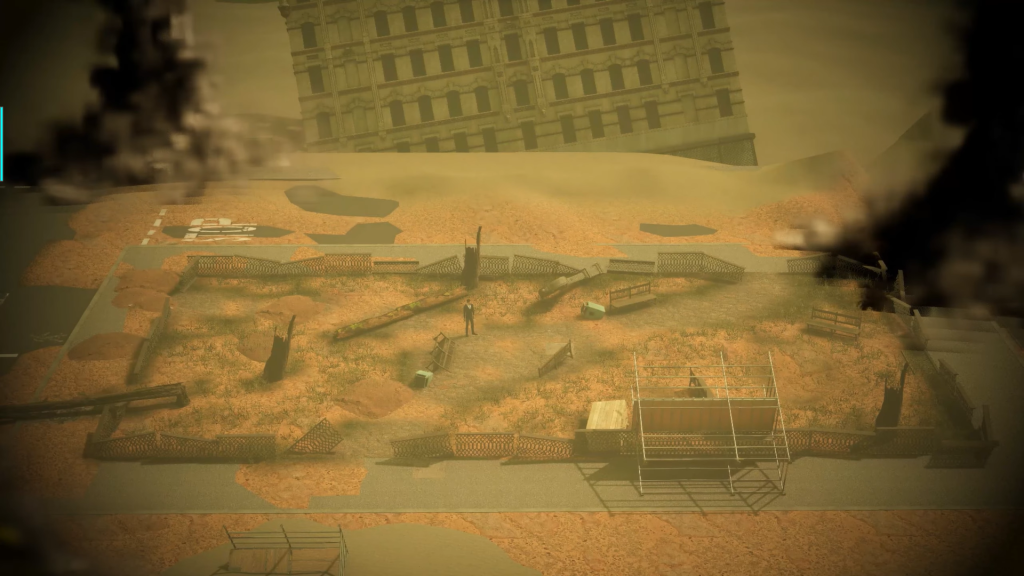
The level that I am using in Unreal was made as a level block-out for an different module, and beforehand I wanted the scene to be of a bank robbery. However, when making the block-out, I realized that the bank building was not suited for a finished cutscene so I scrapped the idea. This led me to use a park that I added to the level outside of the building instead as a set.
Before creating the storyboard, I already knew what type of vibe I wanted for the scene, and that was where the atmosphere is tense but also invokes questions from the viewer. I did this by every so often adding a switch to the storyboard which shows the same area but in a distant future and then the scene will switch back. To note, the protagonist of the scene will not be in the future set, until the very end of the scene.
The storyboard has 20 frames, meaning that each frame of the storyboard will average out at around three seconds of screen time for the cutscene, give or take.
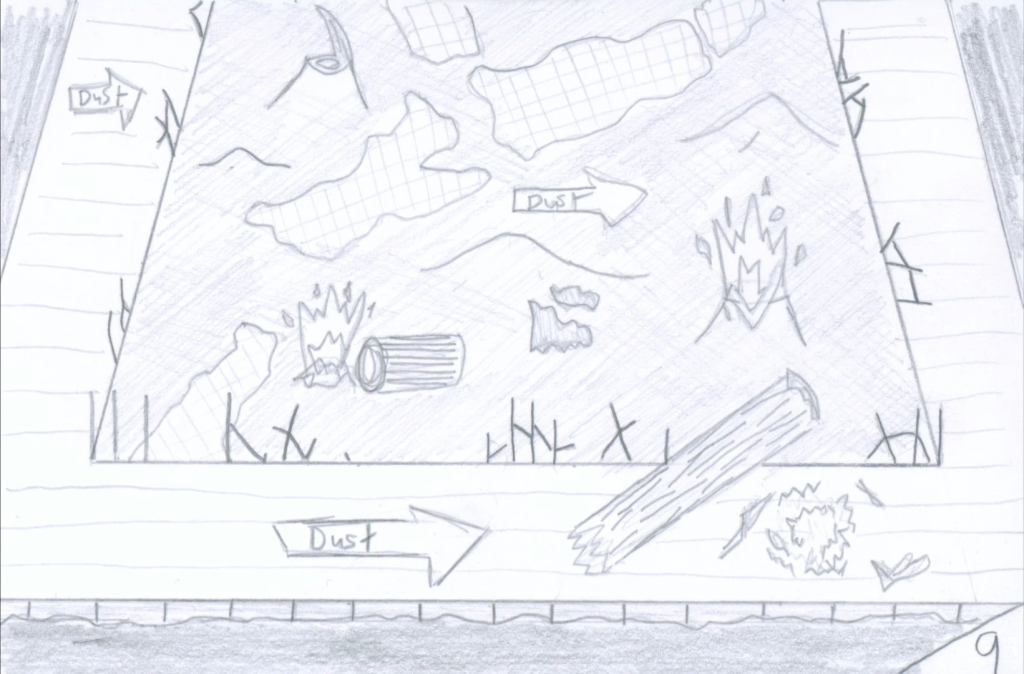
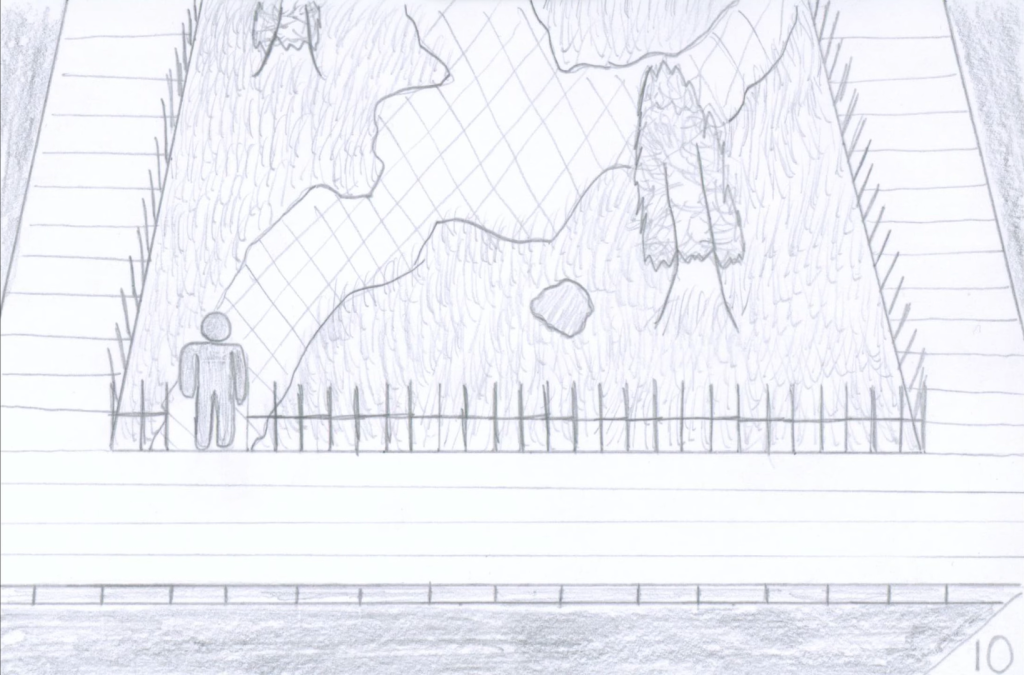
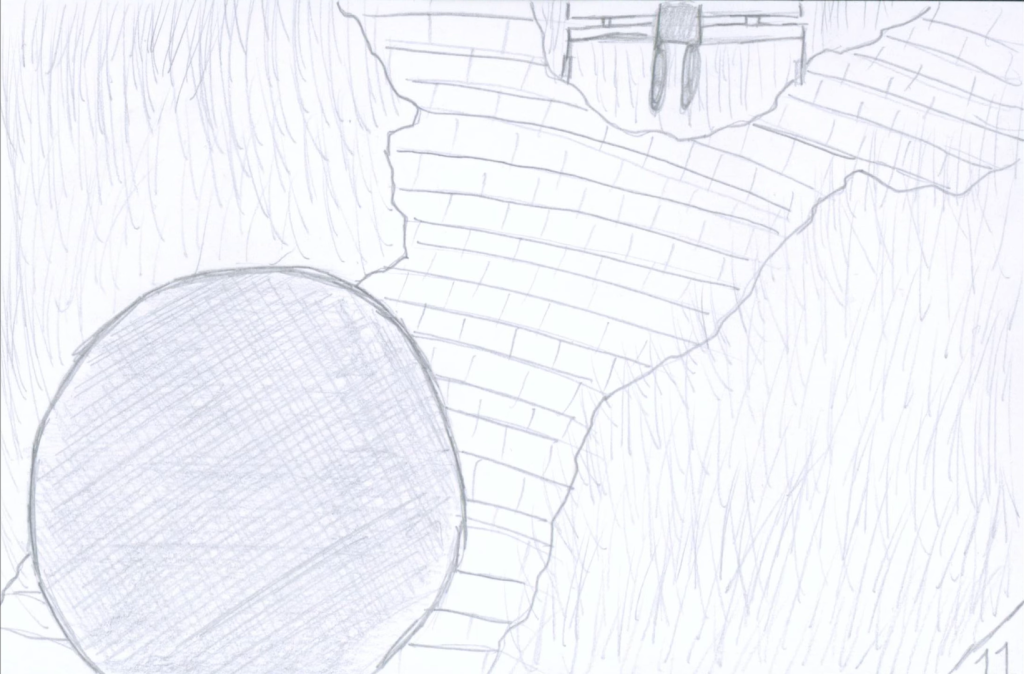
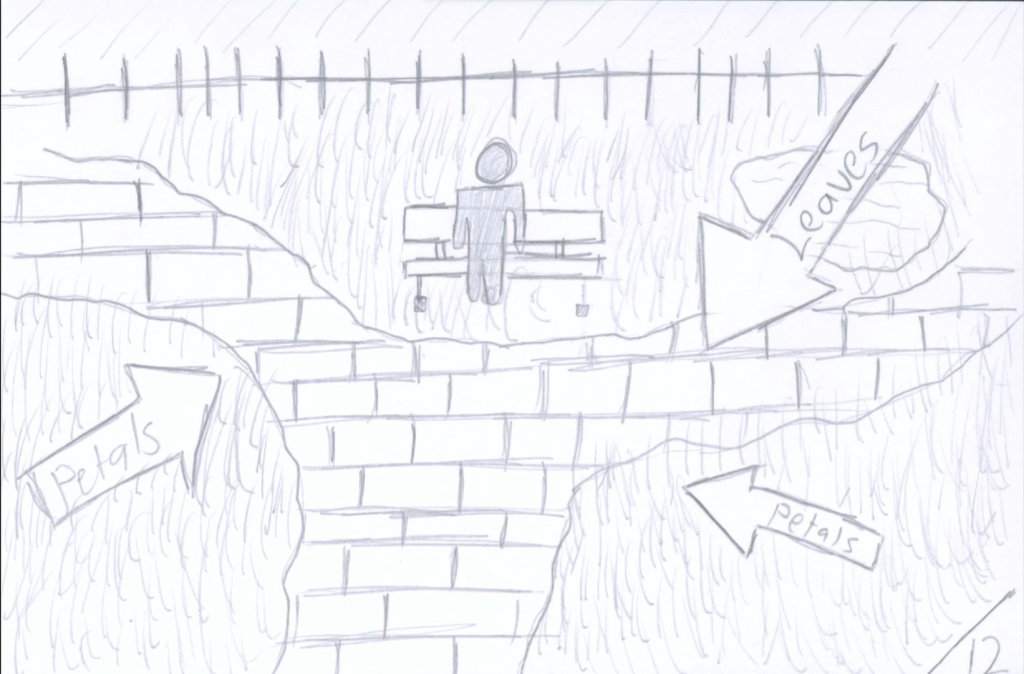
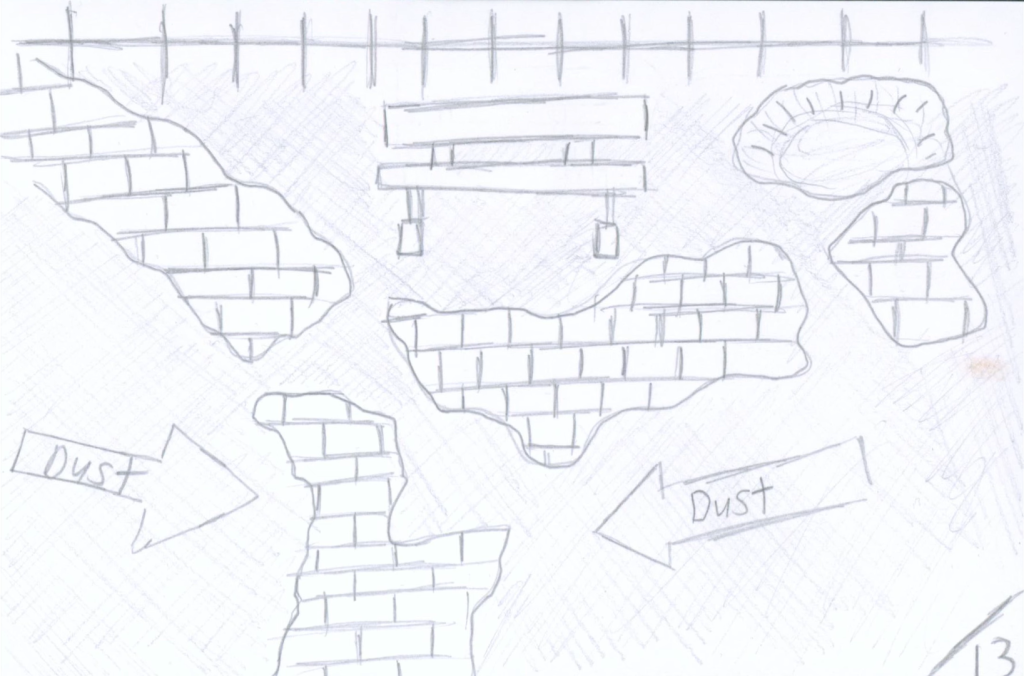

Storyboard Notes:
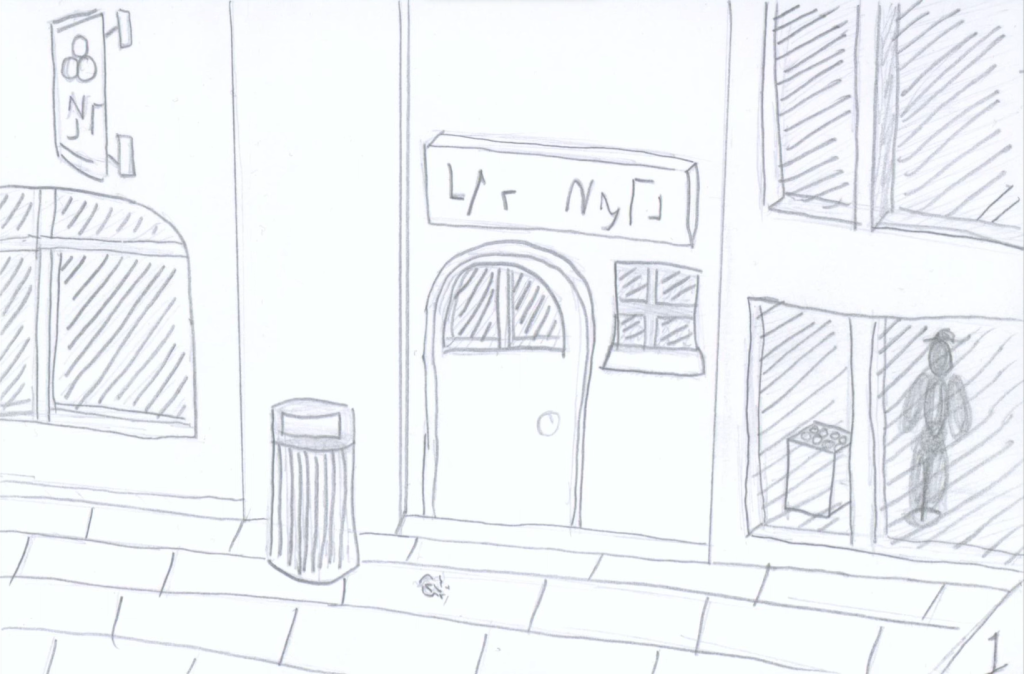
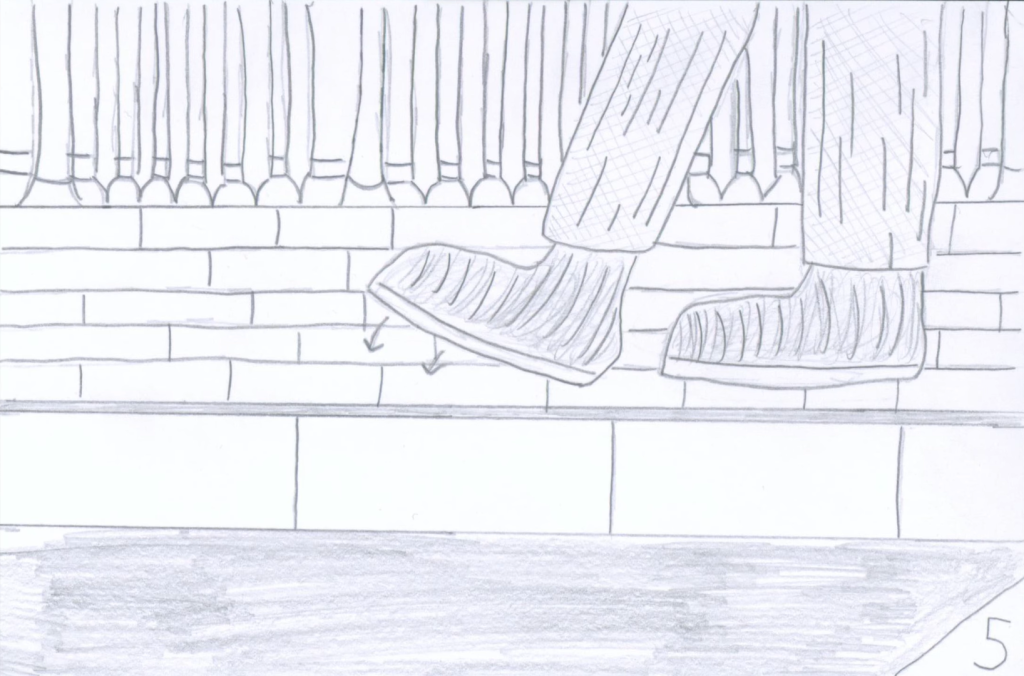
Frame One: Camera moves to the left showing the sidewalk and stores, showing the setting for the scene to be a city or large town.
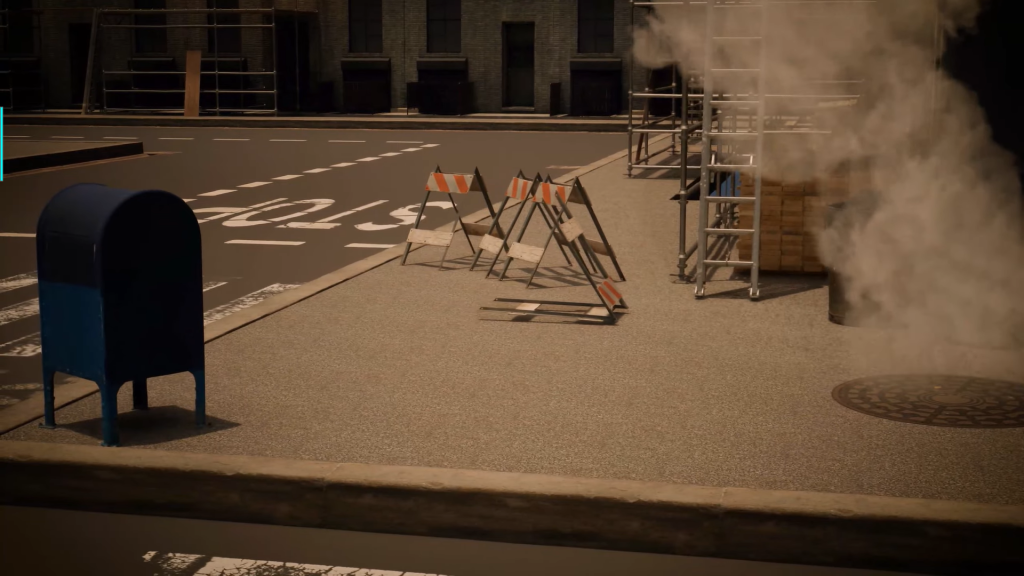
Frame Two: Camera continues and stops showing the road. VFX: Steam coming from manhole.
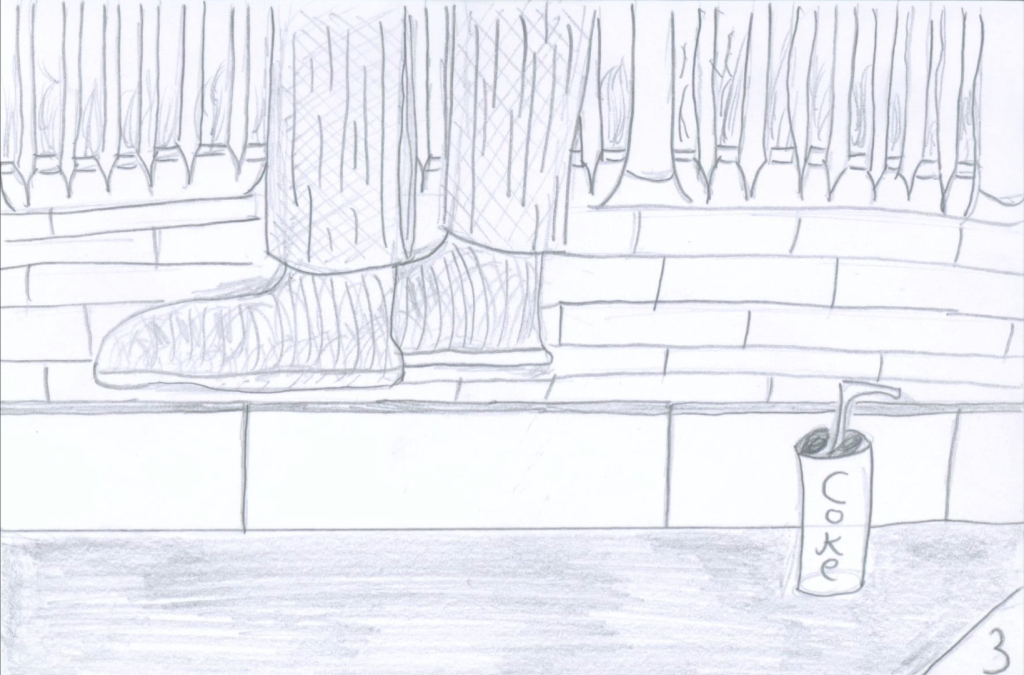
Frame Three: Camera transitions to the feet of the protagonist standing on sidewalk. SFX: Traffic? Crowd talking?
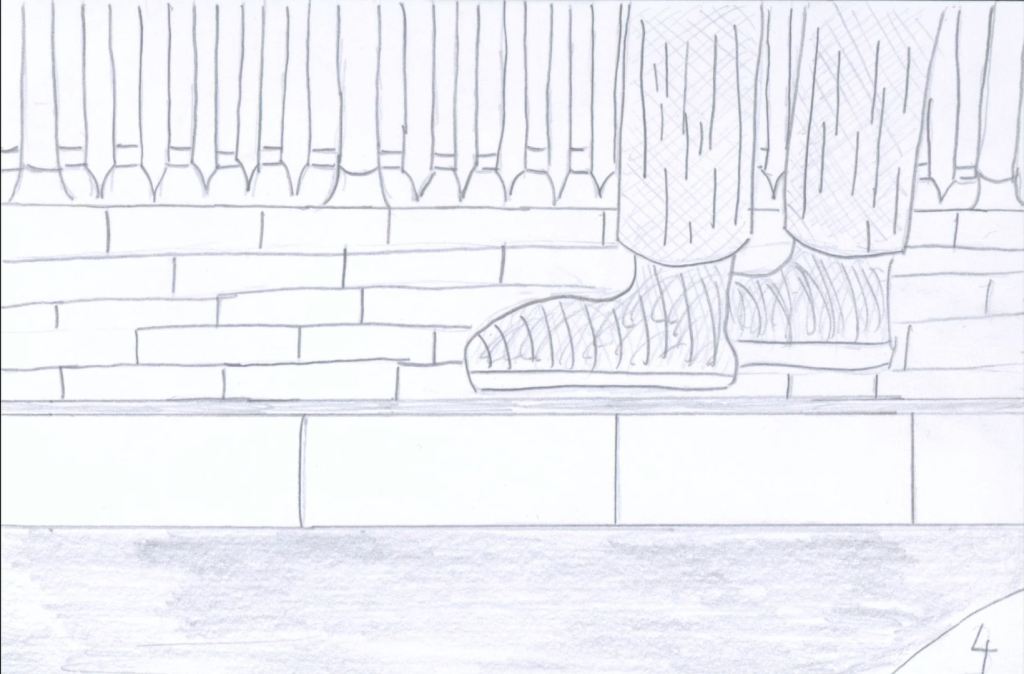
Frame Four: Camera moves left again to set up for the character to start walking.
Frame Five: Character walks off screen. SFX: Footsteps.
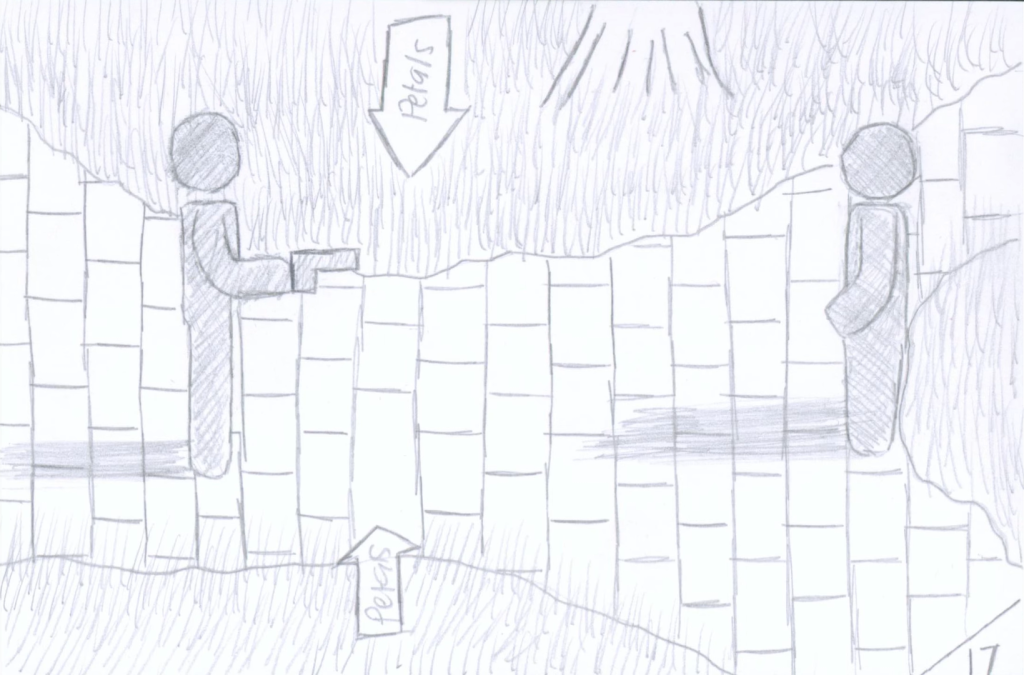
Frame Six: Arial shot showing off more of the area which have only been shown by medium-short shots so far. Character continues walking. VFX: Leaves + Grass/Petals falling/flowing in wind. SFX: Footsteps are quieter since they’re further away from camera.
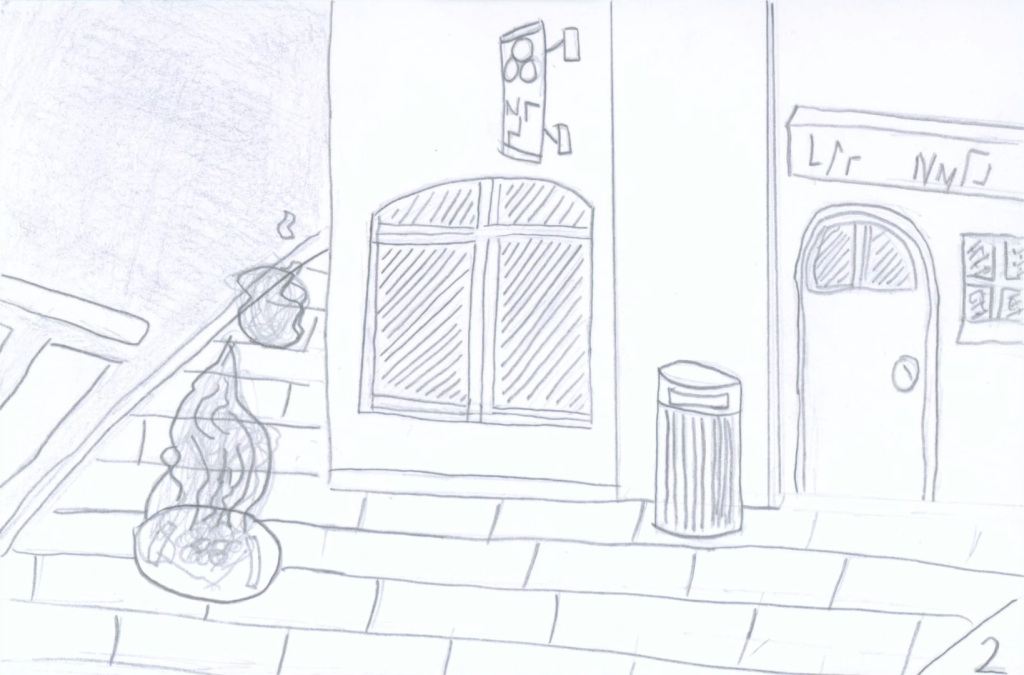
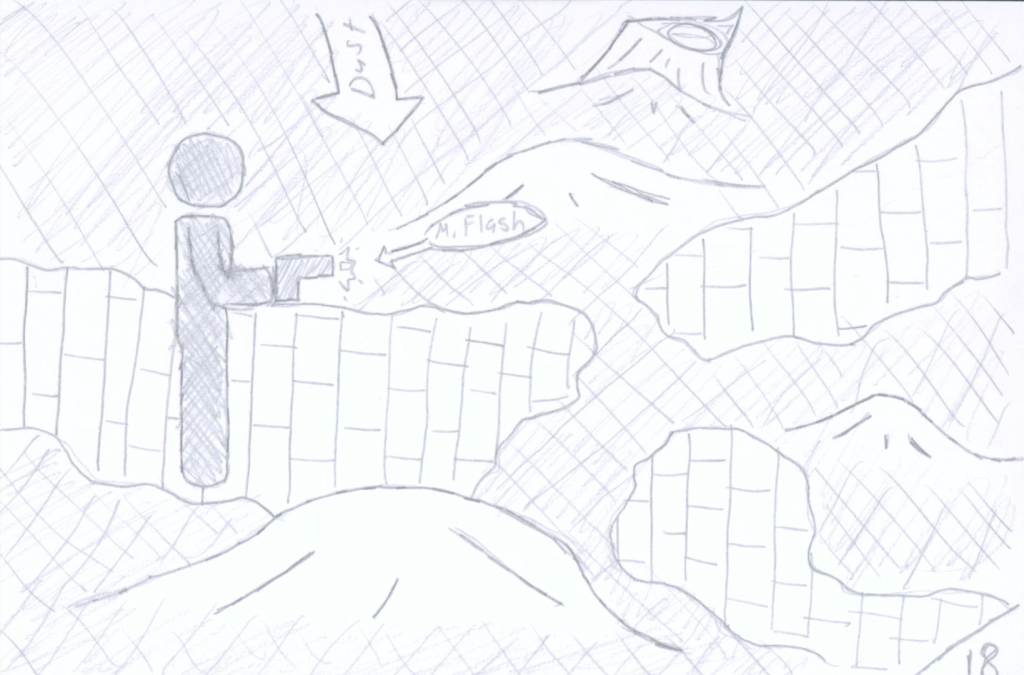
Frame Seven: Shows the first future shot, camera in same position. VFX: Dust? SFX: Wind to contrast from previous sound-busy shots.
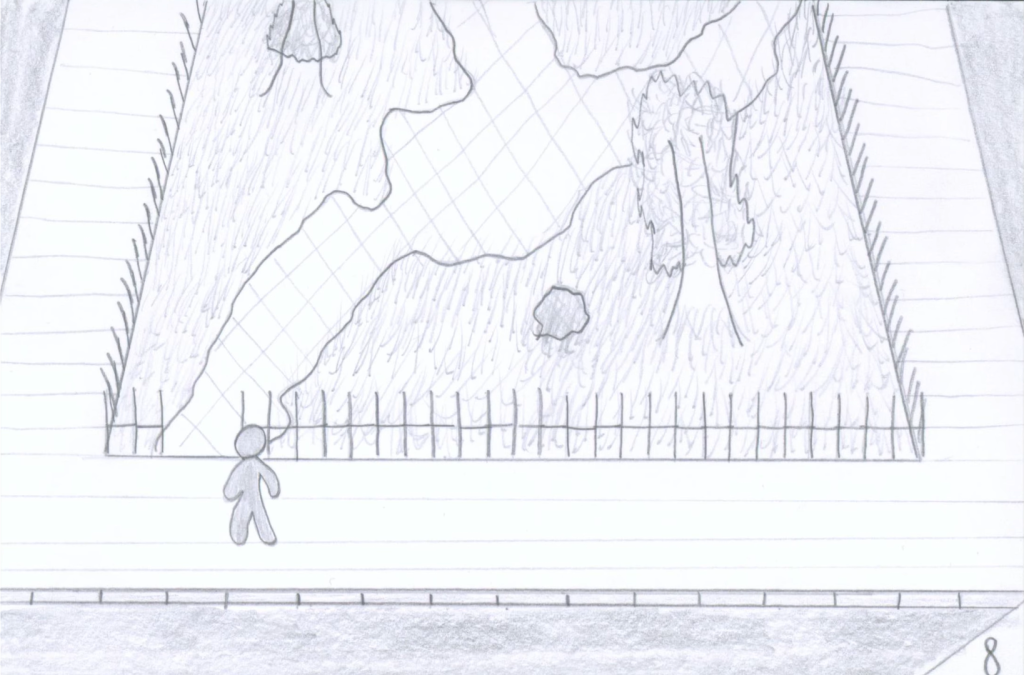
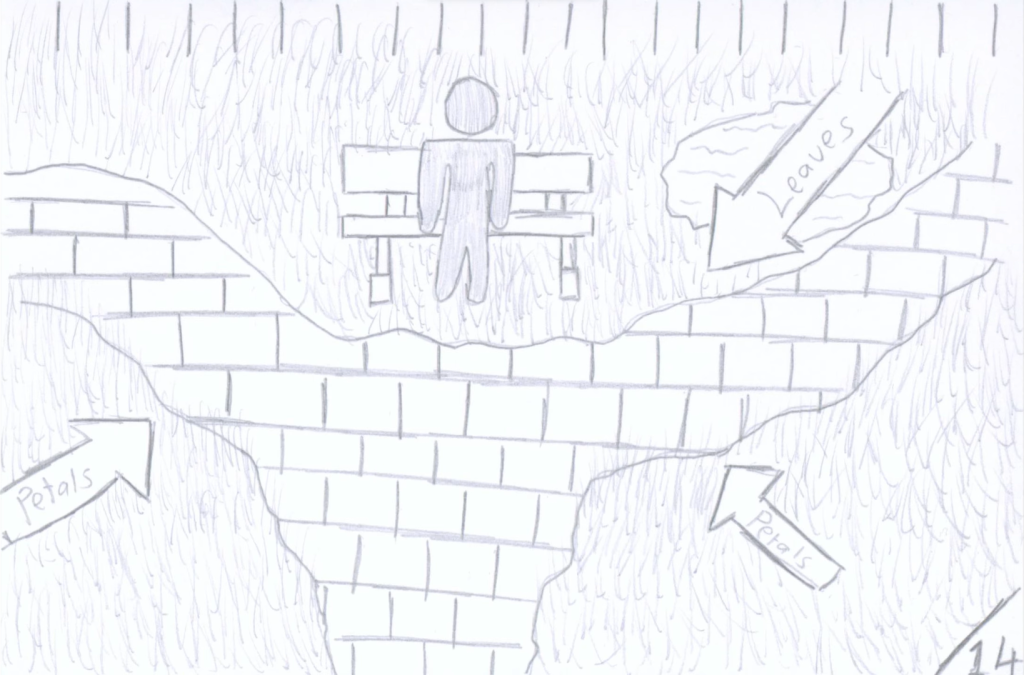
Frame Eight: Character has changed spot on sidewalk to park entrance. Back to set VFX and SFX.
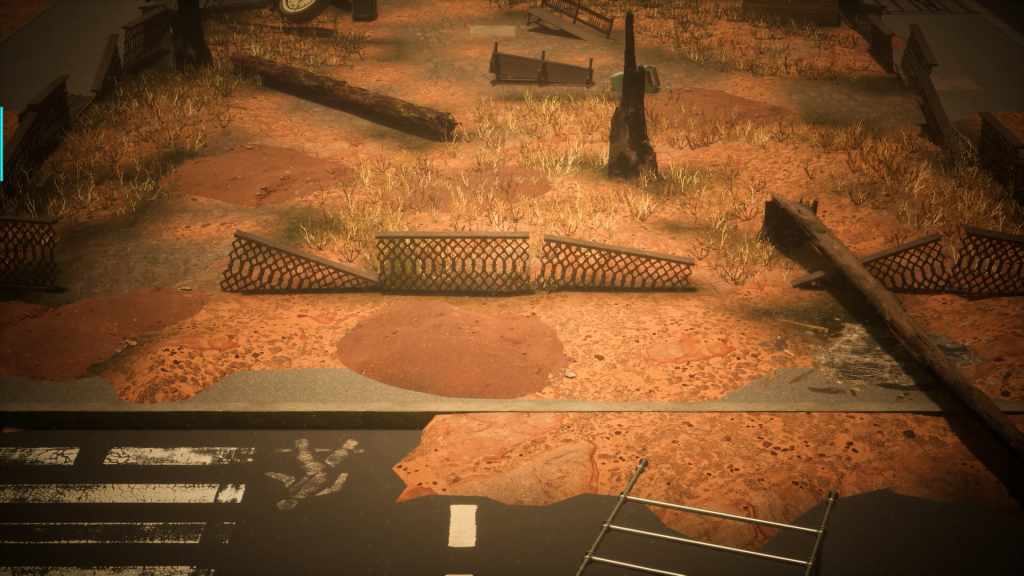
Frame Nine: Switches back to future set, but more extreme. VFX: Dust, Fire. SFX: Distant burning and wind.
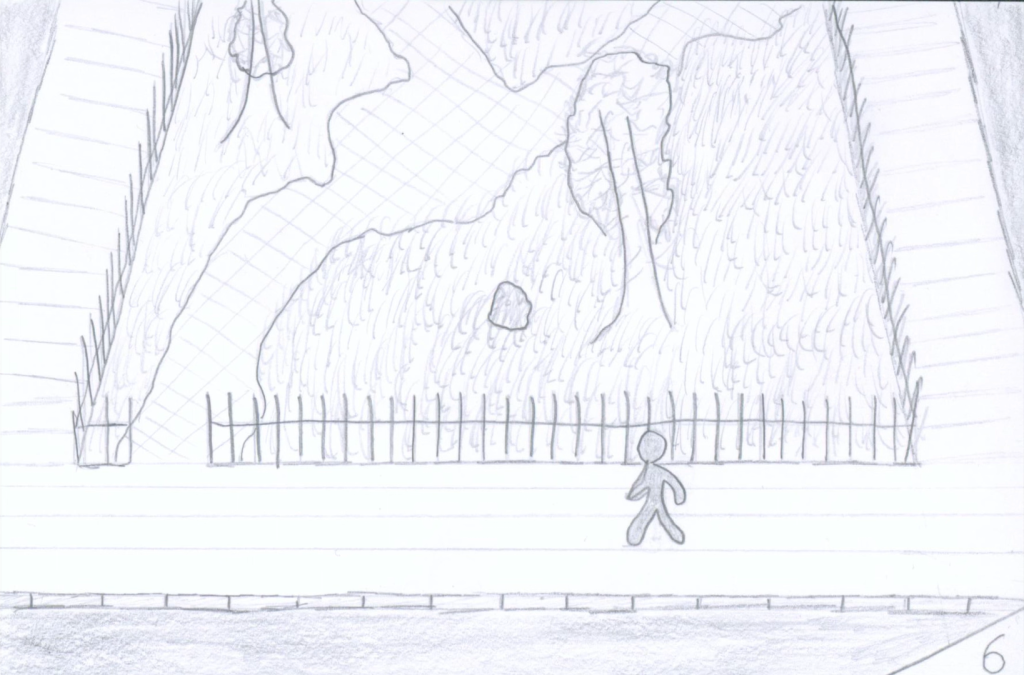
Frame Ten: Back to present, character enters park. Back to present VFX.
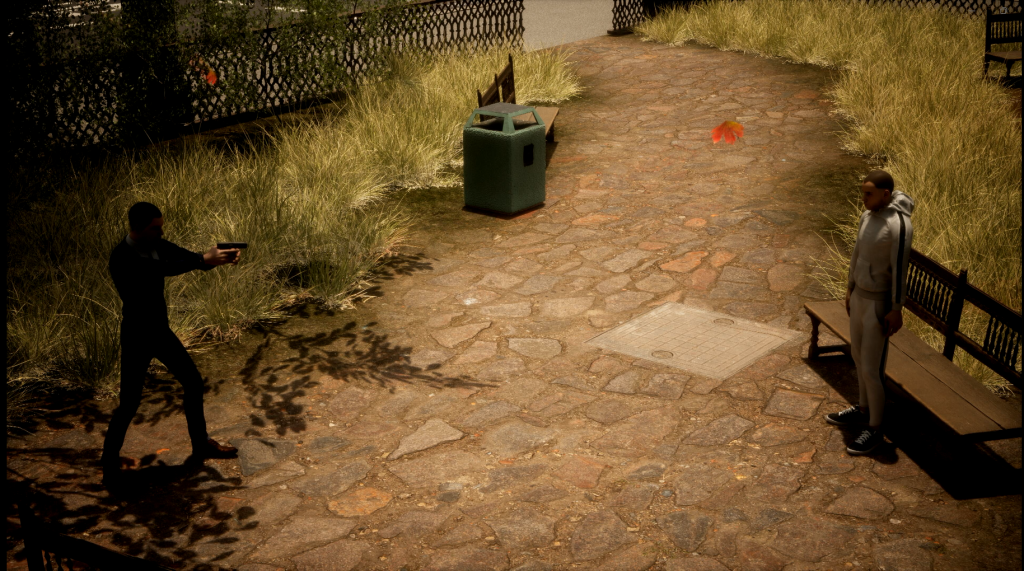
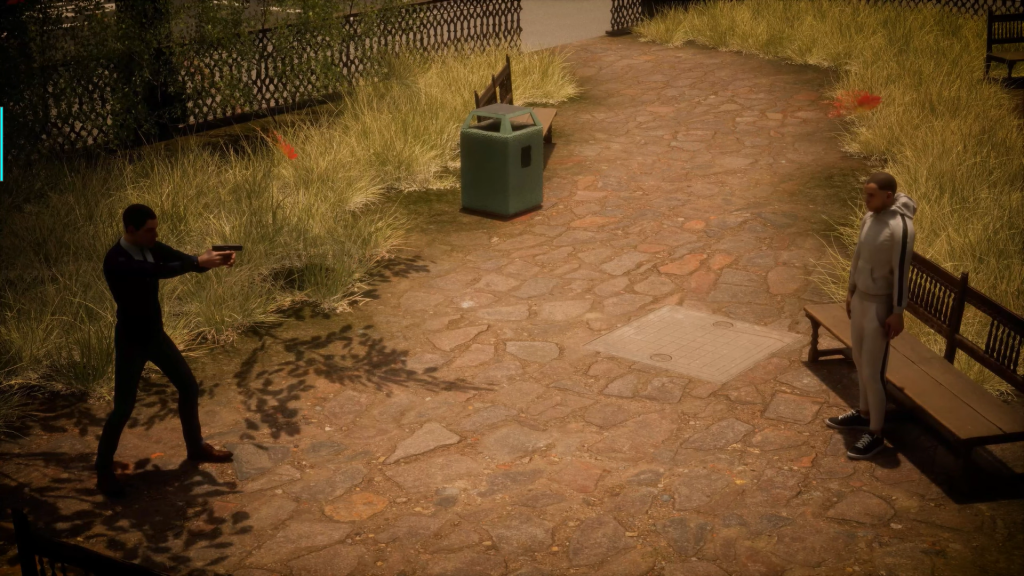
Frame Eleven: Camera changes to behind stopped character, showing a closer view of the park.
Frame Twelve: First person shot looking at another character sitting on bench and camera approaches. VFX: Petals/Grass, Leaves Falling. SFX: Trees rustling, footsteps begin again, pond water.
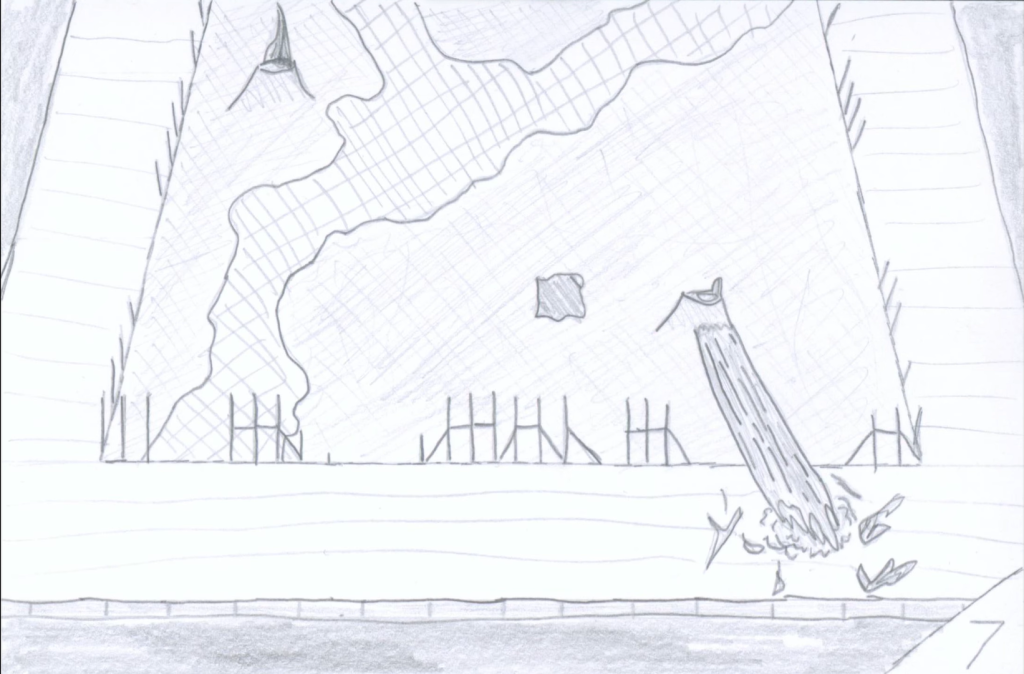
Frame Thirteen: Future Set, characters disappear and camera continues to move forward. VFX: Dust. SFX: Fire and up close Winds.
Frame Fourteen: Present Set, continuation of camera movement and same VFX & SFX from camera twelve.
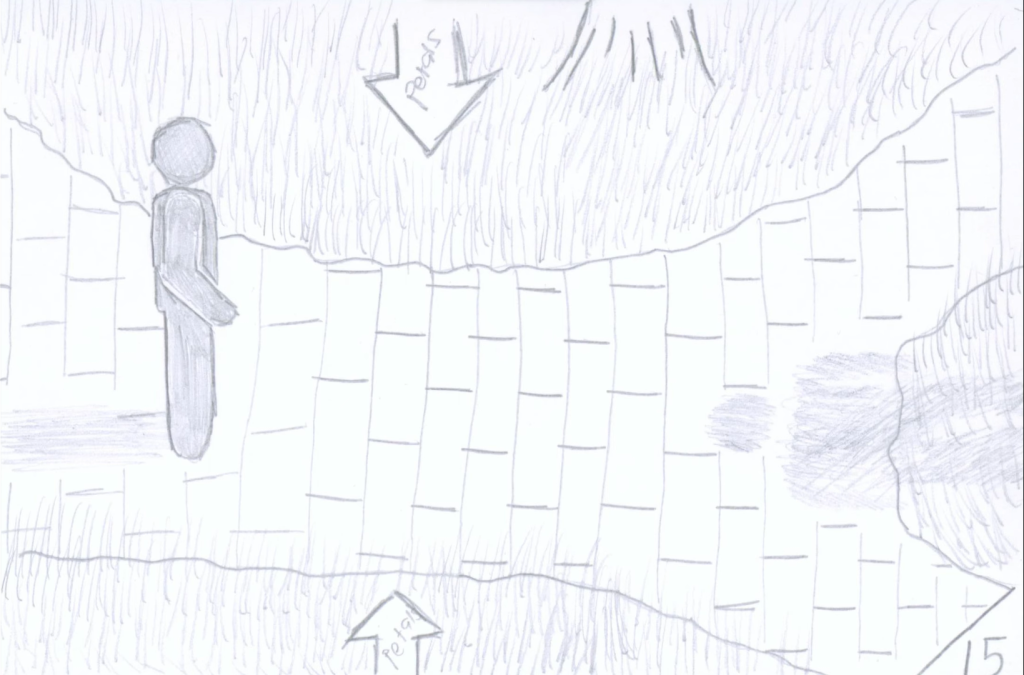
Frame Fifteen: Camera Side perspective, character stops, shadow of antagonist visible.
Frame Sixteen: Future Set, same camera position.
Frame Seventeen: Antagonist visible and protagonist holding gun.
Frame Eighteen: Future set but with protagonist in it. SFX: Gunshot + Echo. VFX: Muzzle Flash, Bullet? Smoke from Gun.
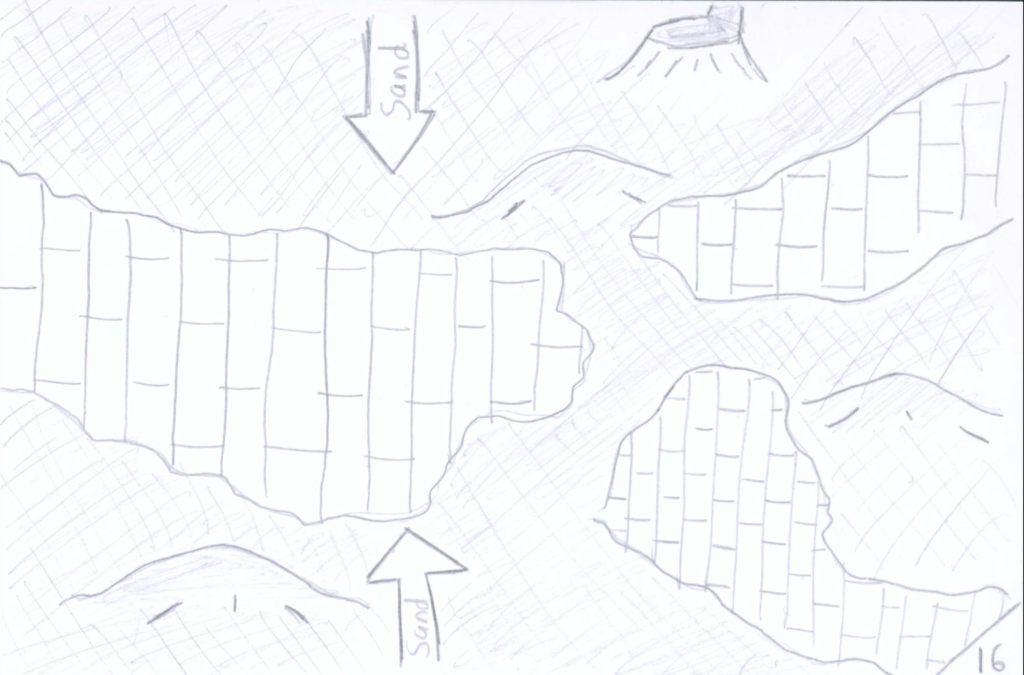
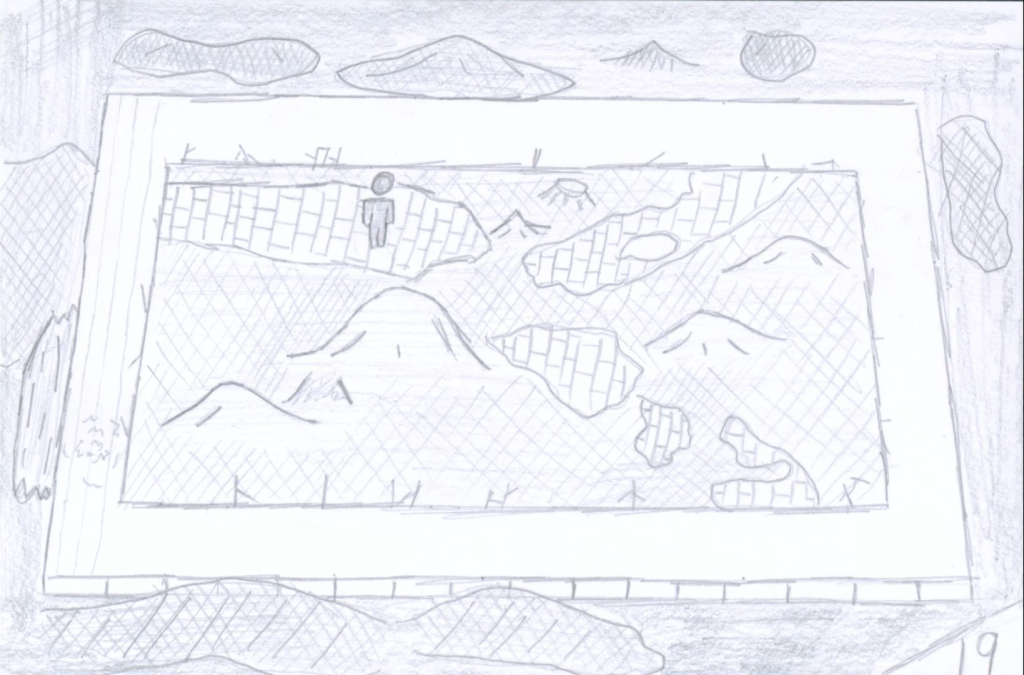
Frame Nineteen: Zoom out. VFX: Further dust. SFX: Semi-Harsh Winds.
Frame Twenty: Zoom out even more. VFX: Tornados. SFX: Harsh Winds.
After making the storyboard which let me make note of what kinds of VFX and SFX I’ll need to add to my cutscene, I decided to implement the SFX elements from these notes into my storyboard by creating an animatic. This required me to scan my storyboard frames with a university scanner and put them into Adobe Premiere Pro, after which I searched freesound.org for audio which I then made slight alterations to in Adobe Audition such as denoising and sound fades.
There are SFX I didn’t end up adding to the animatic such as fire and pond water. In all honesty, the reason for this is just because I forgot, however, I do feel that video is well done nonetheless.
The animatic gave me a head start on what audio files I’ll be using for my final cutscene and how to edit and implement them. As a note, I may not add the pond or fire SFX along with the fire VFX into the cutscene since they are not really needed since the strong wind SFX would realistically cover up medium to long distance sounds as such. However, at the time of writing, this decision is not set in stone.
Cameras
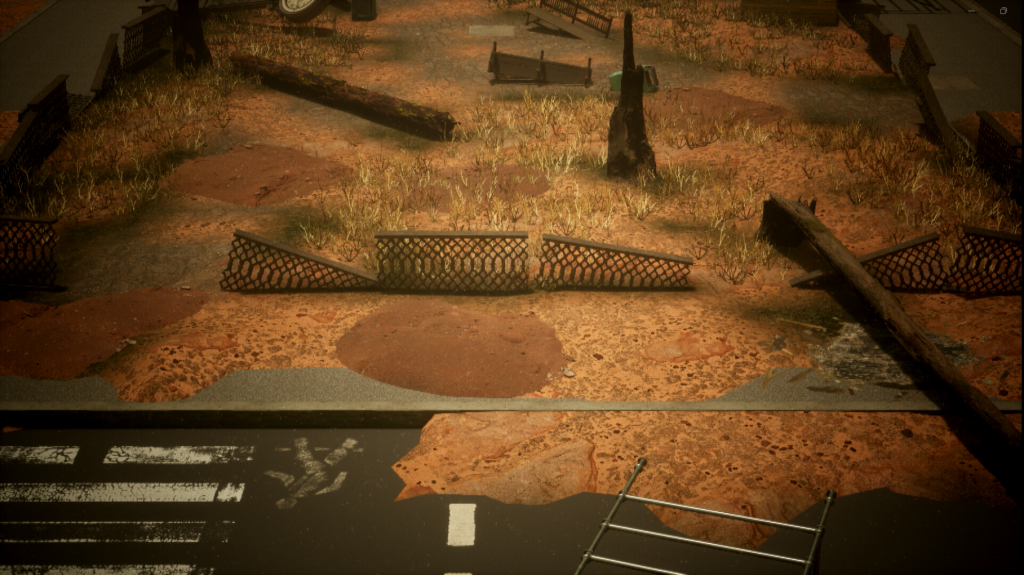
In total, the Unreal Project uses 21 different cameras which seems like a lot at first but reasonable considering that to make the create the finished video I will need 3 levels in Unreal. These levels are, the present setting where it starts, the semi-distant future which is what the video switches on and off to, and the distant future which is at the end of the video and includes a deserted wasteland with tornados.
The vast majority of the cameras have the same movements and positions as their counter-parts, the only technical difference is that they use a different Mastershot.
When setting up the cameras I wanted to make it as close as possible to the storyboard, since it worked out so well. But ultimately there had to be slight changes since I was working in a set that was already made and didn’t line up one to one with my storyboard. For camera 3, I had to remove part of a building so that the camera was far away enough for the entire sidewalk to fit in the shot and to have the proper angle from the storyboard.
Near the end of recording footage, there was another large change to the cameras which was the final three for the last set. I found out the the VFX that I made have a limited render distance, meaning if the camera got to far way they’d start to disappear. After researching on how to fix the render distance, I settled with changing the cameras so they’re closer to the park set and only showing the bottom of the tornadoes since I couldn’t get far enough away to show the whole thing.

VFX
At the point where I was starting out making the VFX, I composed a list for the effects I’ll be using based on my storyboard.
- Steam
- Falling Leaves
- Grass & Petals
- Muzzle Flash
- Gun Smoke
- Fire (optional)
- Dust
- Tornadoes
Many of these are easy to make since they don’t require a lot of different elements to them, excluding tornadoes and gun smoke.
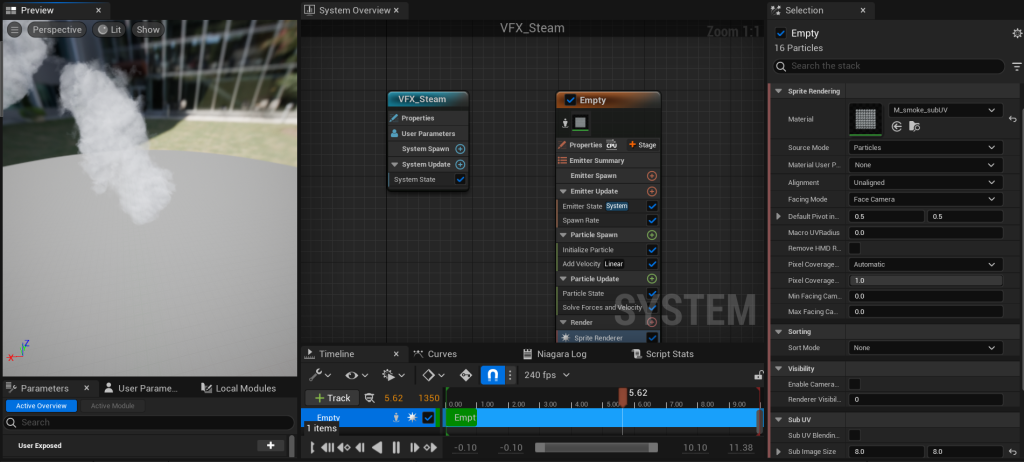
Smoke
With the Steam VFX, I followed at tutorial and during which made my own changes to the VFX such as velocity, colour, sprite size and spawn rate. These changes were input to better fit how I’d be using the VFX, which was a manhole busted pipe, meaning I had to simulate the speed of the steam would realistically come out and how much.
For the UVs, I used the smoke UV from Unreal’s starter content.
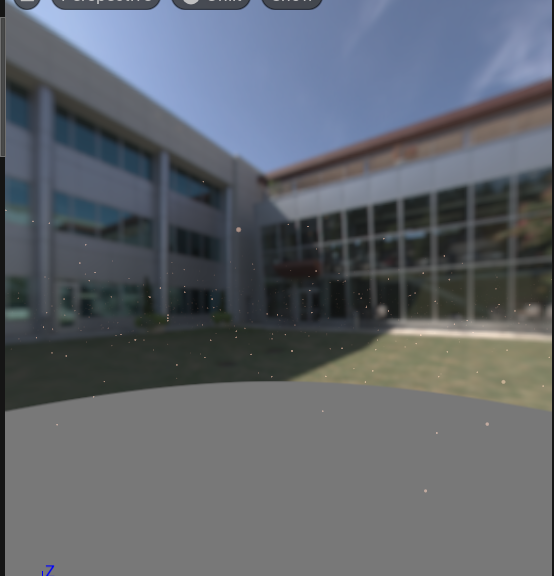
Falling Leaves
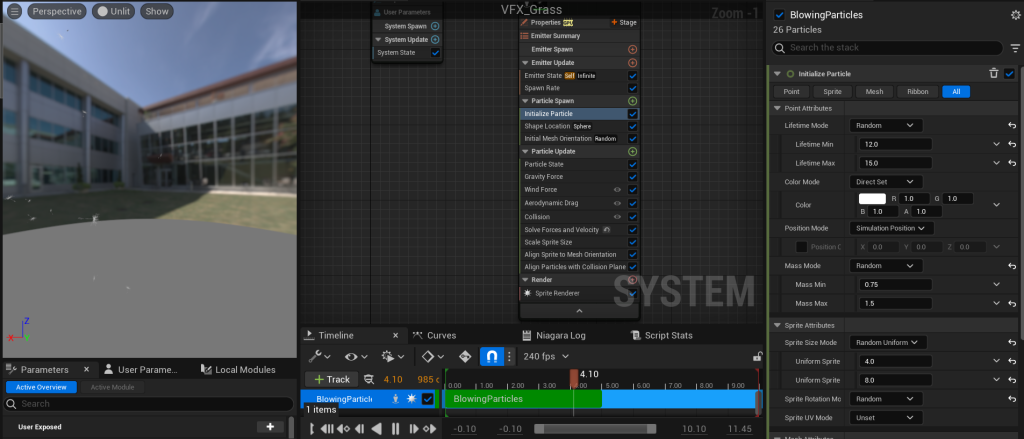
With the falling leaves, I ended up making two different effects for different leaves, and for both I used blowing particles preset. The VFX has high spawn rate and lifetime, which feels unrealistic for so many leaves to be falling at once but I ignored it to create a environment that feels dramatic and creates an appealing atmosphere.
I ended up using a material sprite from the Big Niagara Bundle on the Unreal Marketplace since there weren’t any available from the starter content and I couldn’t find any Unreal-ready UV for leaves anywhere else online, so I decided I would use the sprite that the pack uses for it’s falling leaves Niagara VFX.
For the second leaves VFX, I duplicated the first and added a different material sprite from the same pack as well as decreasing the spawn rate from 40 to 12, reduce the wind speed, etcetera. In the end, it resulted in an illusion of greater tree diversity in the set.
Grass and Petals
After searching for sprites for grass and petals on the Unreal Marketplace and Starter Content, to no avail, I had remembered the Realistic VFX Starter Pack Volume 2 which I used for my Environment Design in the past and that it had a number of nature VFX I could take sprites from.
I downloaded the pack, but unfortunately there still wasn’t any leaves or petals that I imagined, so I decided to compromise with a dandelion sprite from the pack.
I duplicated the falling leaves VFX I made and changed the sprite material alongside the scale, spawn rate and lifetime since I didn’t want there to be an overabundance of dandelions in my shots, a contrast from the idea for my leaves VFX.
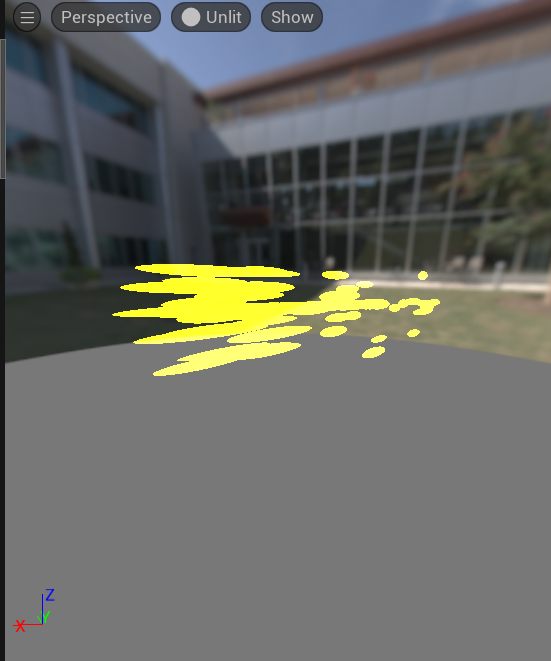
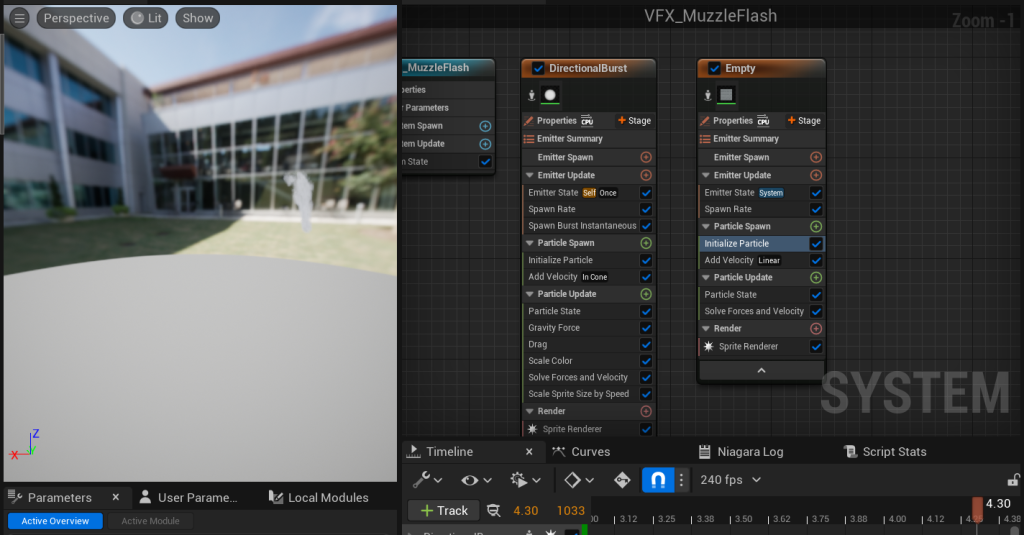
Muzzle Flash
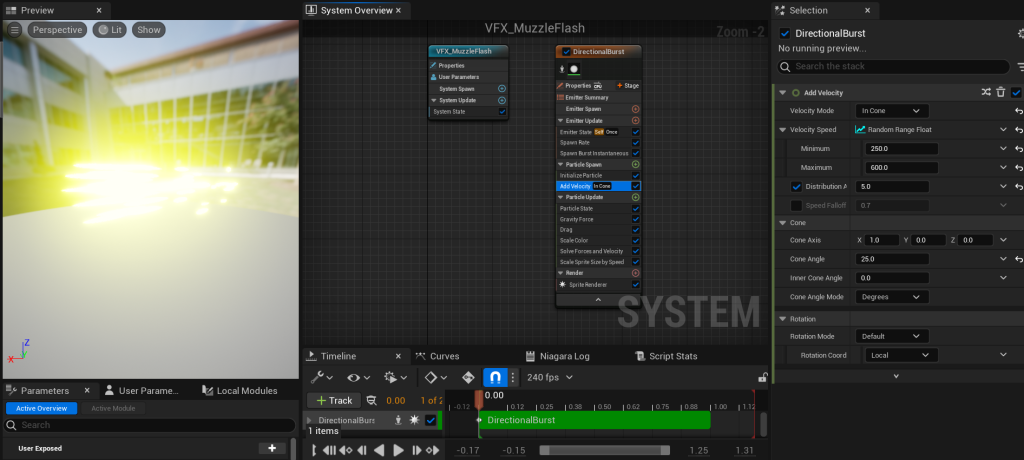
The muzzle flash VFX is by far the shortest of the list, with only lasting a tenth of a second. The VFX uses the directional burst preset and uses the default sprite material which has had it’s colour modified in Niagara. In addition, the velocity of the muzzle flash is very high at between 400 and 600.
Gun Smoke
For the gun smoke I took the steam VFX I had already made for the manhole cover and pasted it into my muzzle flash Niagara system where I made adjustments to make it look the smoke is coming from a gun’s barrel, I did this by scaling down the sprite I used since it was too large since it was being used for the steam VFX. Next I decreased the velocity and increased the spawn rate, this made the smokes exit from the barrel look more continuous and natural. I also increased the lifetime slightly since the velocity was shorter so the smoke would reach higher.
Dust
At the end of creating the dust particles for the set, I ended up with something completely different from what I expected when I started working on it. At first, I tried to create something like the steam VFX but was more like a slow moving cloud trailing along the ground.
After experimenting, I scrapped it after it didn’t end up the way I wanted it to look and after trying to make smaller dust clouds that travel across the entirety of the set which are produced at a low spawn rate, I decided to look to the internet for help.
I found a video that helped me make suspended dust in the air which ended up looking better than the other two attempts.
The video led me through creating a dust material and set up the VFX which uses the hanging particles preset. I duplicated the Niagara system throughout the rest of the set to the the camera will keep seeing the dust in the park area when it’s moving through it.
Tornadoes
This final VFX was the most complicated and frame-costing of all of the other VFX’s listed previously. To create this I needed to use a Unreal plug-in called Niagara Fluids which was required for me to use the Grid3D Gas Emitter. Of course, I didn’t figure this out myself, I used a YouTube tutorial to guide me through it while making my own adjustments. Two adjustments that I had to make at the end of creating the Niagara system was reduce the simulation resolution and remove the top vortex. These were required to stop my Unreal from crashing since it would need to load 2000 of the particles a second.
I mentioned the tornadoes in the camera section mentioned on why I didn’t need the top vortex anyway since it wouldn’t even be seen in the final shots.
Post-Processing
Unreal
Before post processing my clips in Unreal and Adobe After Effects, I had already everything recorded beforehand at 60fps and 3820×2160 resolution, however, I had to rerecord many of these since I didn’t have my Unreal Post Processing for my cameras set up and I had changed some VFX that I needed to record as well.
I added a vignette to my first level’s cameras to create a cinematic effect, I tried experimenting with the other post processing in Unreal but many ended up not doing anything such as lens flares since there was not any close enough reflections or light sources in the level. And with other other effects, they didn’t match improve the shots as expected, and some made the shot just too dark or bright which didn’t work.
For level 2, I added a higher vignette to create a contrast between the two scenes, as well as adding bloom to the level to make the environment look arid. I tried out with film grain which is often used in post processing to mimic older media and static, and at first I thought it added a kind of dread factor as to show what the world had become, but ended up looking too distracting even at low levels and decided to go against keeping it.
I had also added an Exponential Height Fog to the level which I’m unsure counts as post processing but I thought it is important to mention since supports the post-apocalypse vibe I’m striving for.
After setting up the post production, I went to record the scene but unfortunately when I had set the quality to the same as before Unreal crashed during several attempts when trying to render the shots, needing me to record at 30fps and 1080p instead. I don’t know if it was the post processing that did this or not but I had the same issue with the last level, so I thought it would be better to use the clip I already had of the last set at apply post production solely in after effects instead.
After Effects
After getting my shots from each of the levels I moved onward to Adobe After Effects where I focused on adding further colour grading onto my footage. I used a short After Effects tutorial to help me with this since I was new to the software.
In After Effects I added the lumetri colour effect onto each of the shots. Using this effect allows me to change a multitude of elements, but the ones that utilised the most was temperature, tint, exposure, contrast highlights, shadow and highlight tint and vignette. I added the vignettes to all of the shots even though two already had vignettes from unreal, this is because I found that I didn’t add enough vignette in some of the unreal shots, and that I preferred the customisation options made available in After Effects.
Here are some before and after shots:
Before

After
Adobe Premiere
After editing all of the shots I imported them into Adobe Premiere alongside the audio that I used for my animatic gathered out of freesound.org. I edited the audio using Adobe Audition to affect the volume, volume fading and denoising.
After exporting everything I uploaded the final video to YouTube:
Reflection
As the final video is completed it is time for my self-review of the process and result of my work. First off, I am proud of how it has turned out considering this was the first time I have worked with my own VFX and characters despite that I could have done better, for example, when working with the suited man character I had to shoot multiple renders to capture their different starting positions in certain shots since I didn’t know how to properly make them turn towards a different position. This wasn’t noticed during the video thanks to the switches.
One VFX element I would have changed is the dust, which despite being shown alongside the storm sound effect, have particles that are very idle which wouldn’t make sense if there were strong winds. If I were to do it again I’d have it so the dust particles are emitted by a directional fountain to match the storm’s winds.
One thing that I think I did well was the editing the shots in premiere, for instance, the camera’s switch when closing into the man on the bench is seamless and shows uses the same camera position at the beginning and end of the shots as its set’s counterpart.
In conclusion, this project will be helpful with applying the knowledge and skills that I picked up when working on this cutscene for future video game cinematic pieces. Said skills involving cinematography, storyboarding, sound design, Niagara Systems, and Unreal and After Effects post-processing.