For task eight, I had to produce a character design that follows human anatomy. This task took quite a while since it was unfamiliar territory and required a lot of references for me to reach the final result.
For my character, I wanted her to be able to fit into a survival world similar to Telltale’s The Walking Dead or Project Zomboid, meaning that clothing options are mostly casual to resemble these games’ concept of regular people surviving an apocalyptical world.
The Design Process…
Bone Positions
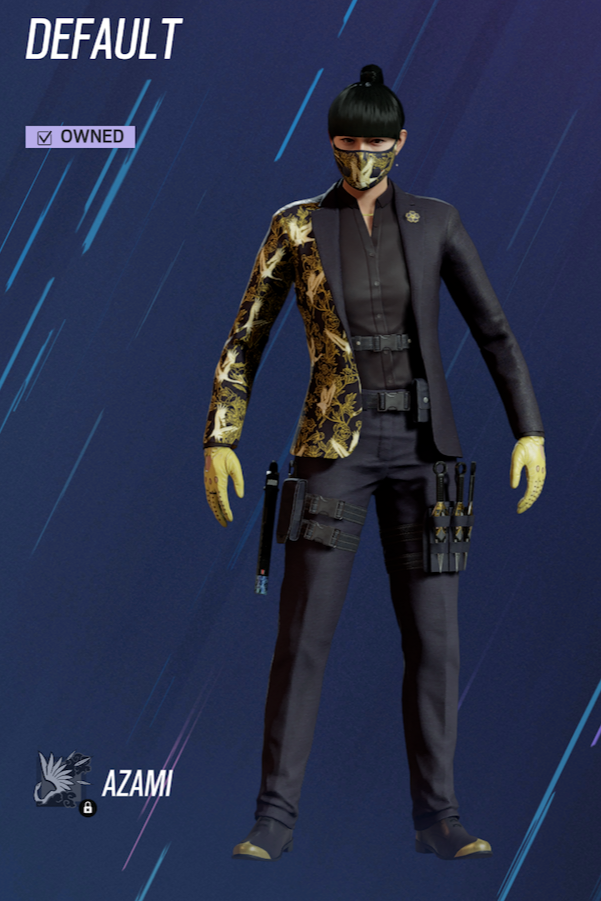
My main body reference for this project was Azami from Rainbow Six Seige by Ubisoft. This is because the game allowed me to rotate the character’s avatar so I could get screenshots of both the front facing and the 3/4 perspective references from my Xbox Series S.
So I started with opening this image in Photoshop and on a second layer drawing out the bone positions for the character.
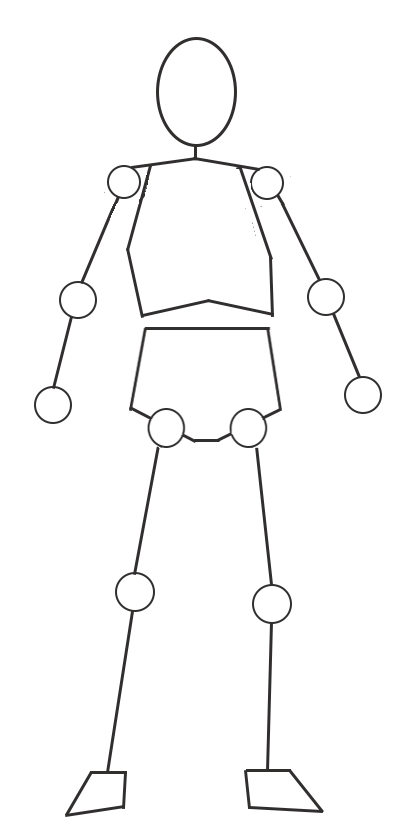
I did this by using the ellipse and line tools to draw and connect the joints and the head of the character. However. a problem with the pose lines is that the total body height isn’t exactly eight times the height of the head which is common practice within human anatomy, though the head is only a dozen pixels larger in height than an eighth of the total height so it didn’t make much difference in the end.
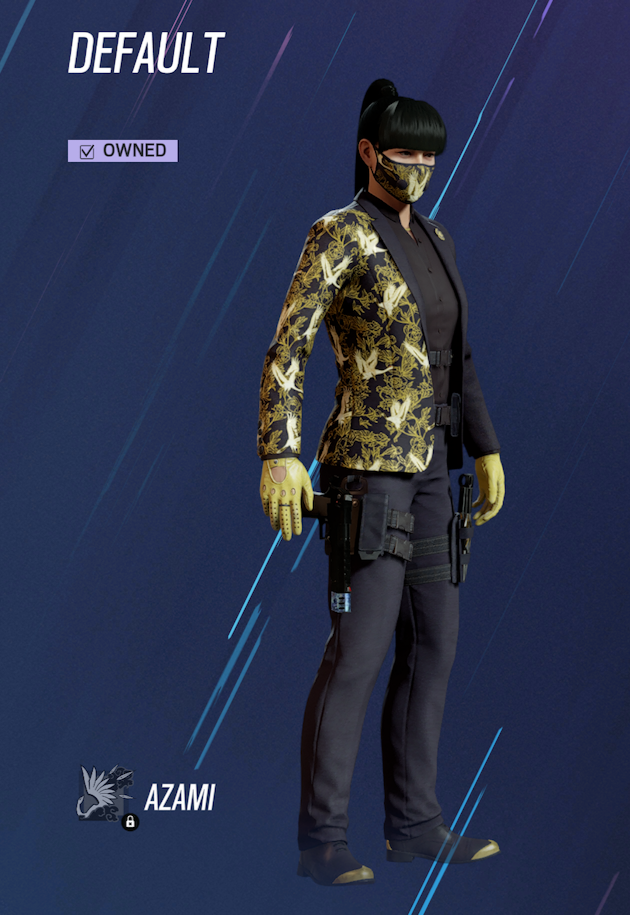
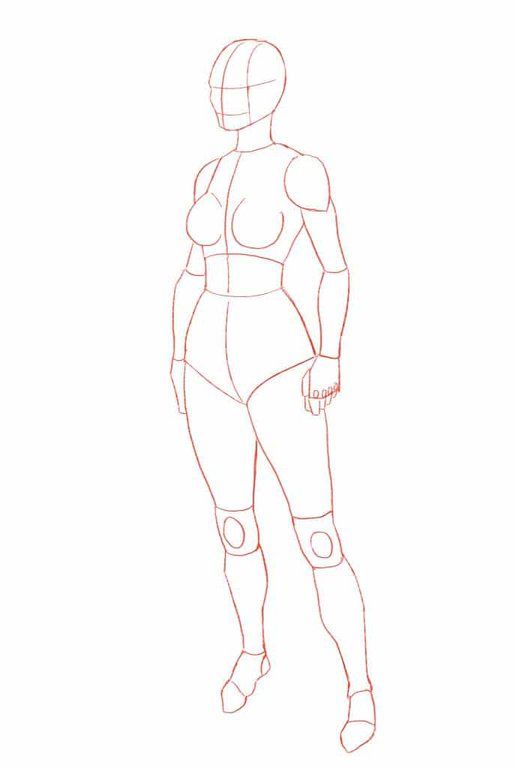
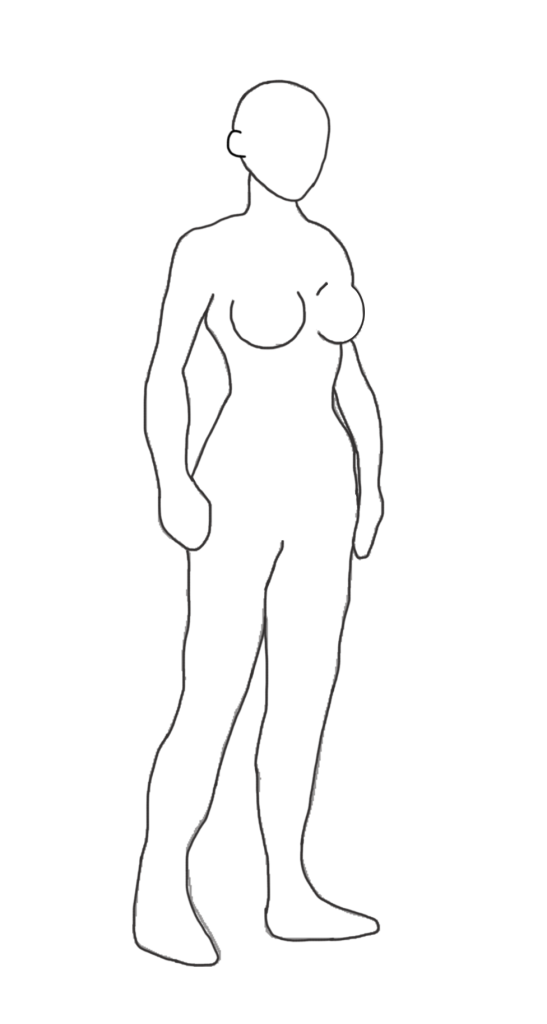
The two above images were used as references for the 3/4 perspective for my character and were used for to put together the body type and pose of the final character’s design.
I used features from both of the images to put together the body shown on the right. A problem I noticed later on that the anatomy of the feet were wrong and would later be fixed.
For the final piece details, that should have been in this image weren’t added either since they were areas that were difficult for me to draw given their complexity and my previous lack of experience with anatomy.
These two features were the character’s chest area and hands. Hands being an area I struggled with on my first character concept for Task One.

After removing the inner lines of the body, I decided to add clothes to the character which would then add detail to the character’s final design. For this I needed some references which are shown below.
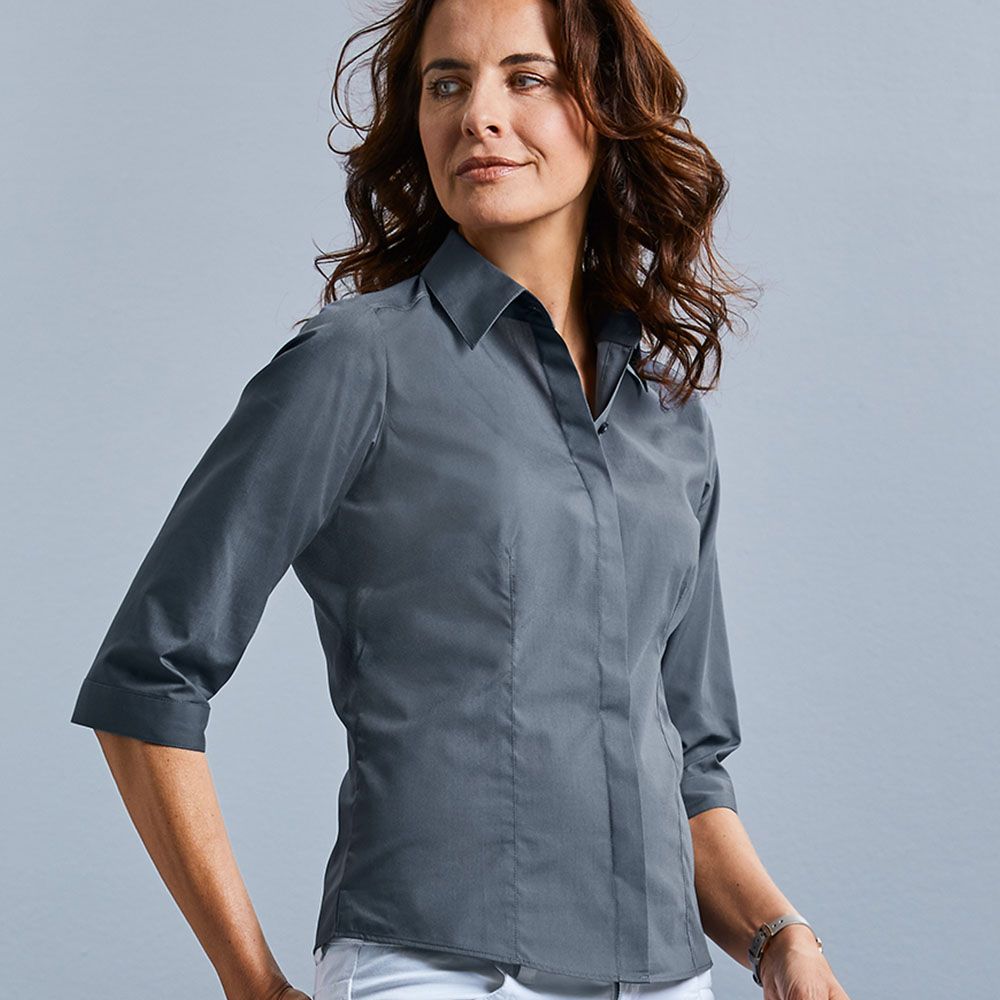

And with these references, I designed the clothing for my character based on the images I found. Unfortunately, I wasn’t able to add shoes onto the character, but at this point of the process this was when I realised about the anatomically incorrect features within the image, these being the character’s feet and left arm.
Next, I decided to go and fix these and add other details such as hair and facial features.
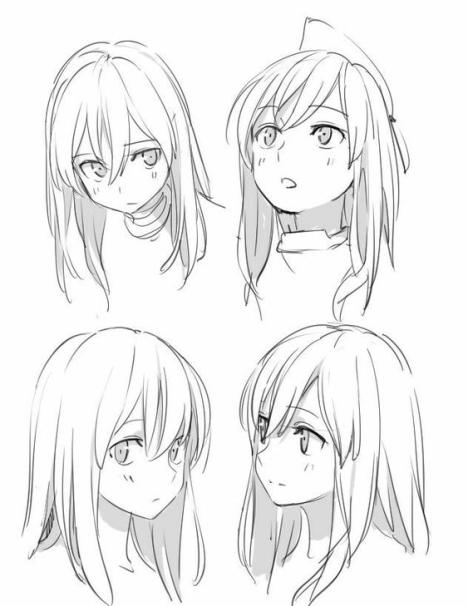
The image on the left is the reference image I used for styling my character’s hair. I decided on using the style on the bottom left since it was at the same perspective of my character’s pose.
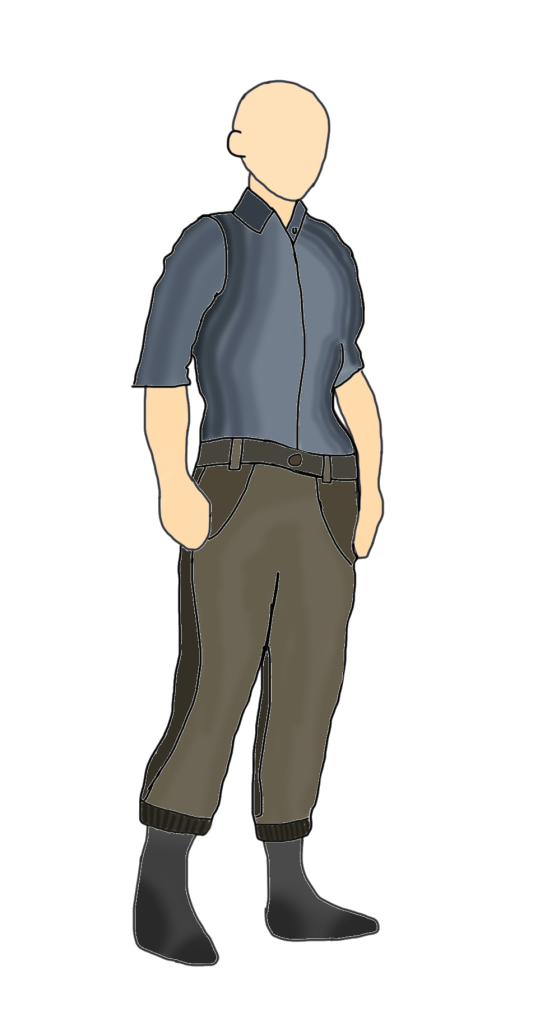
After I designed the hair, I fixed both the character’s feet by making them more in-depth and I fixed the chacater’s left arm by adding an outline separating the arm and the chest.
After adding finishing touches to the design such as darkening the clothes and shading areas of the hair, the final design was complete.
The shading was done by adding an extra layer, setting it’s opacity to 25% and using the brush tool to add shading to the image, particularly for the upper face and hair.
The only problems I have with the final product is that their hands are not properly detailed and that some of the outlines of the character have areas that are uncoloured on either side which is a problem I had with my first character design for Task One.
